Configure network
Feb 06, 2026 | 374 words | 2 min reading time
The network configuration is used for the initial baptism of an IO-Link network module. Here you set and change the IP address, the subnet mask, the gateway and the station name of an IO-Link network module.
Note
Assigning or changing the IP addresses of IO-Link network modules with EtherNet/IP can lead to functional problems with these IO-Link network modules.
Note the following when entering the IP address:
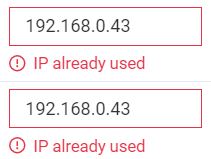
An IP address may only be assigned exactly once to an IO-Link network module in a topology. If you enter an IP address that has already been assigned, you will be notified of this:
.
The IP address must be in the range of the network adapter.
Avoid IP addresses that are already in use by other devices, such as routers or edge gateways.
To assign an IP address to an IO-Link network module, the following conditions must be met:
The IO-Link network module is ready for operation.
The IO-Link network module is NOT connected to a PLC.
Click NETWORK CONFIGURATION in the toolbar.
The following dialog appears:
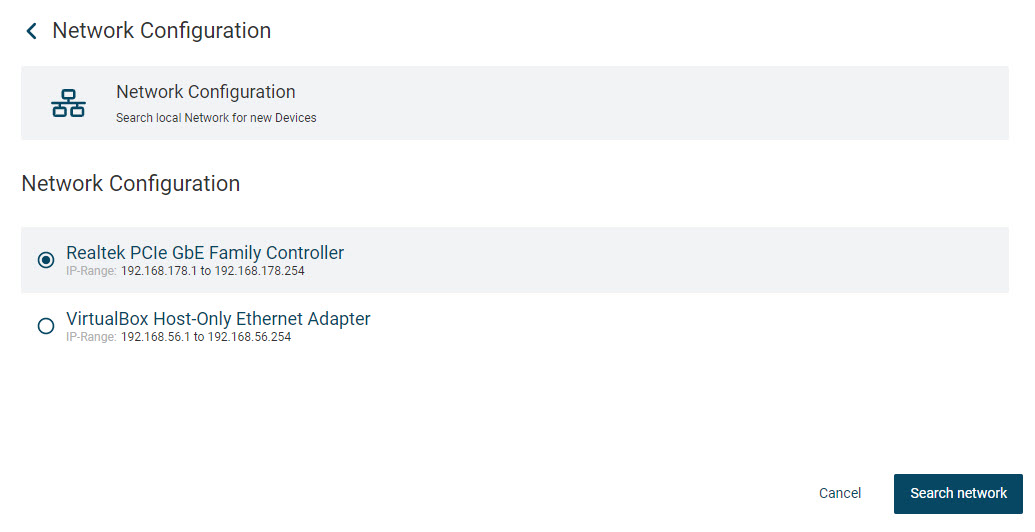
Select the network adapter of your workstation that is coupled to the network in which the IO-Link network modules are also integrated.
Click Search network to start a search for available IO-Link network modules in the address range of the currently selected network adapter.
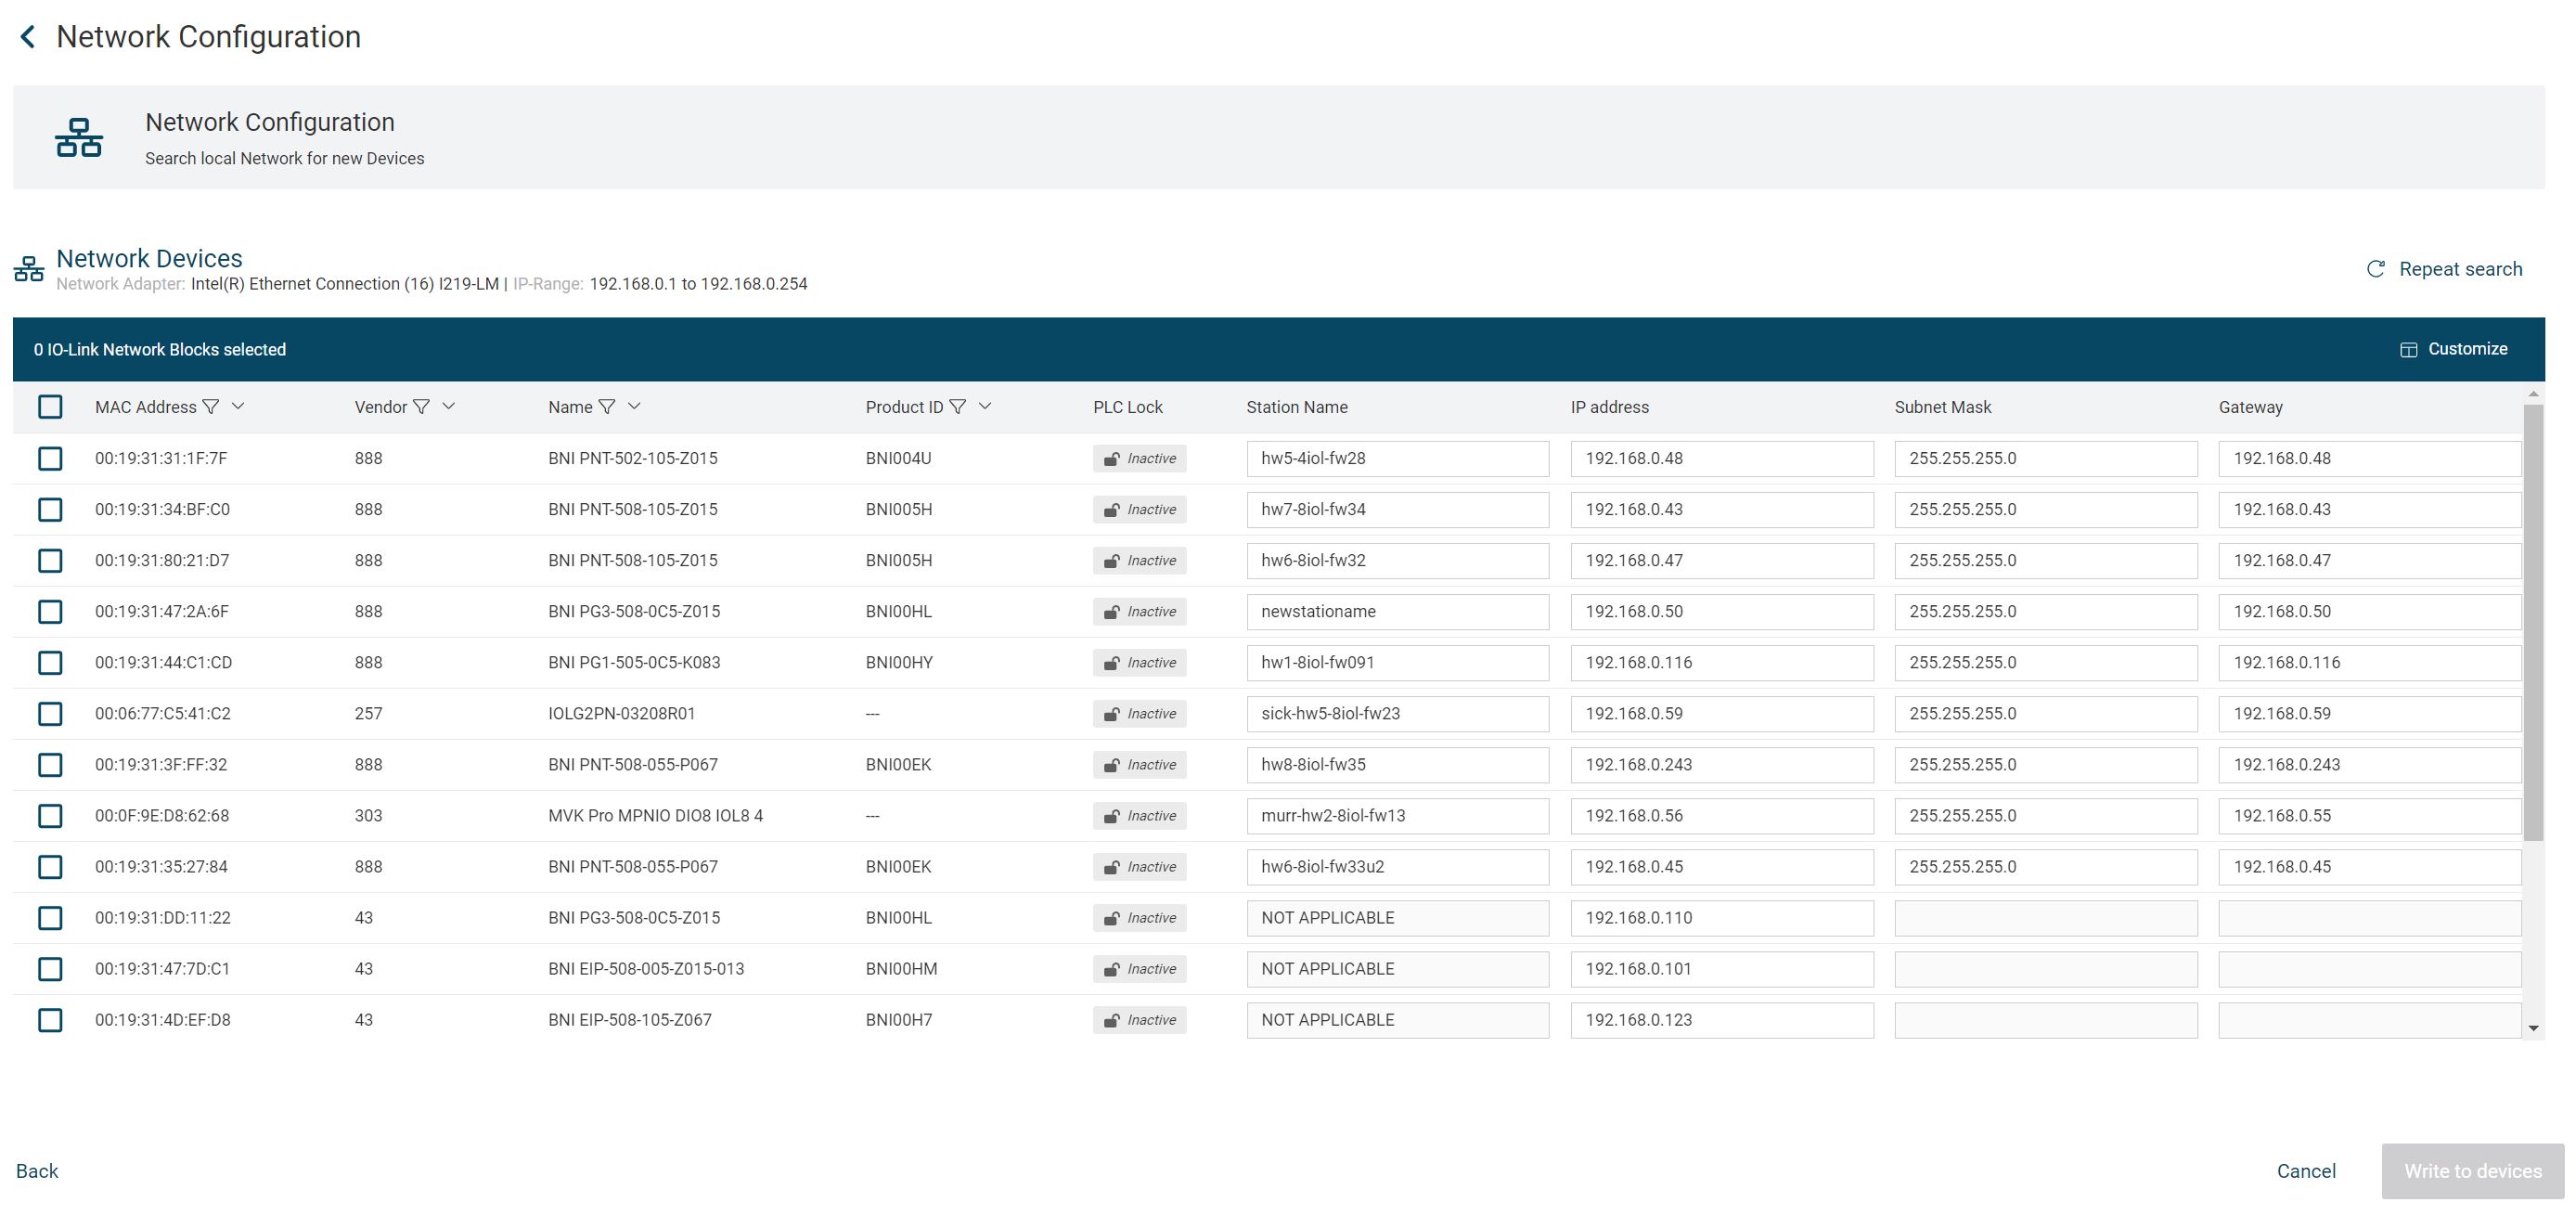
The BET starts a search for available IO-Link network modules and displays them when the search is complete:
Note
If not all IO-Link network modules are found on the bus, you can check the connection on the device and perform the search again with SEARCH AGAIN.
All IO-Link network modules found are displayed. You can change the IP address, the subnet mask, the gateway and the station name. The information in the other columns, such as the device name (PROFINET name) or the MAC address, cannot be changed.
Note
You can customize the table view, see Customize table view.
Note
If you make an invalid entry, you will be notified by BET . In this case, click  to delete the entry, correct the entry and click
  to accept the value:

Change the settings as desired.
In the list, activate all check boxes of the IO-Link network modules whose changed values you want to write to the devices.
The WRITE TO DEVICE button is activated.
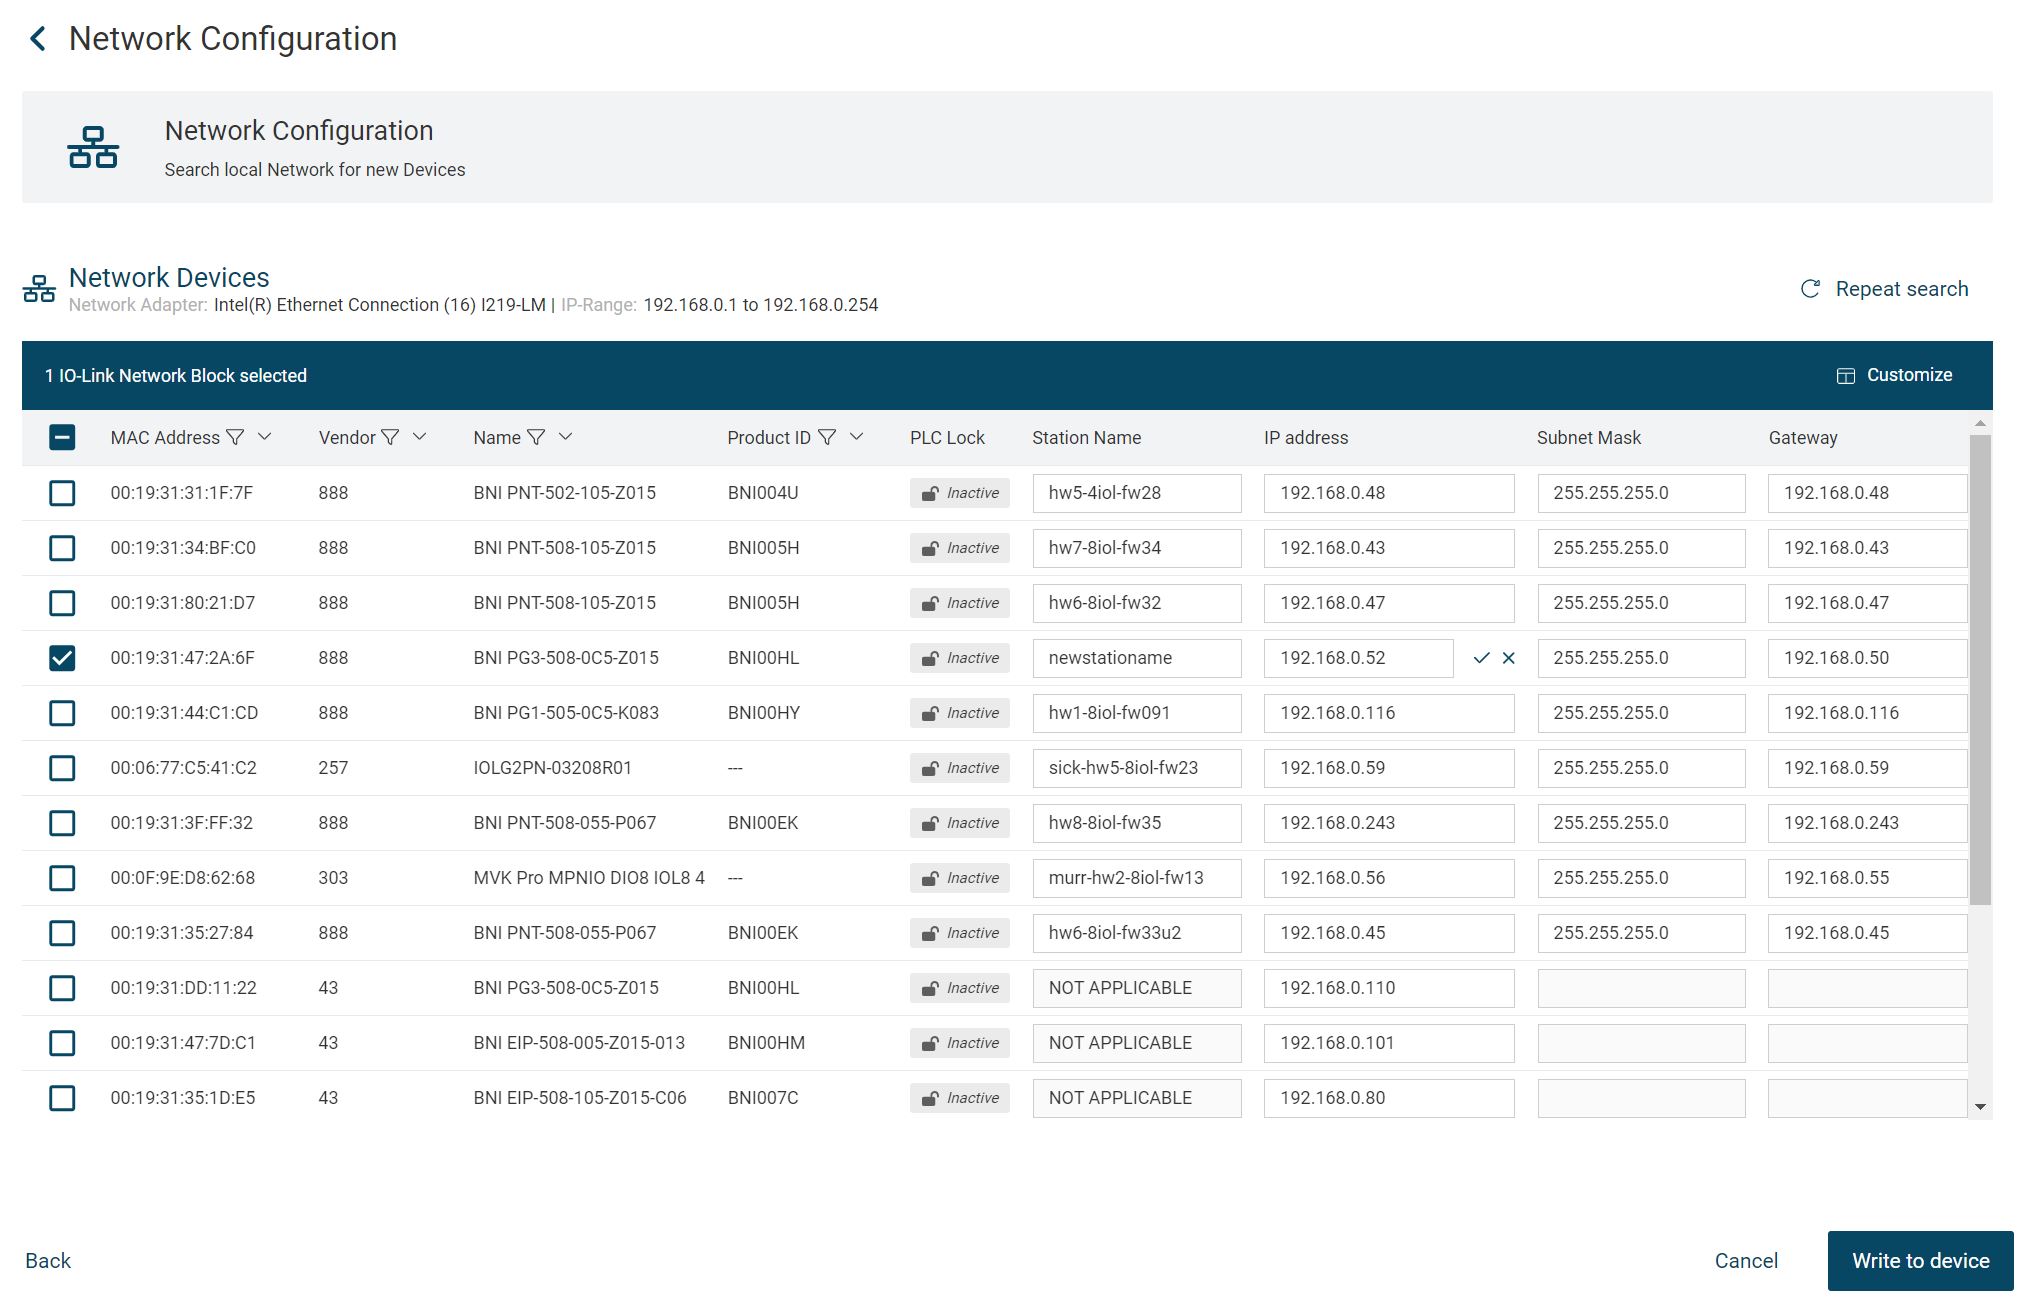
Click WRITE TO DEVICE.
A message appears informing you that the changes will be written to the device, which may affect the accessibility of the device:
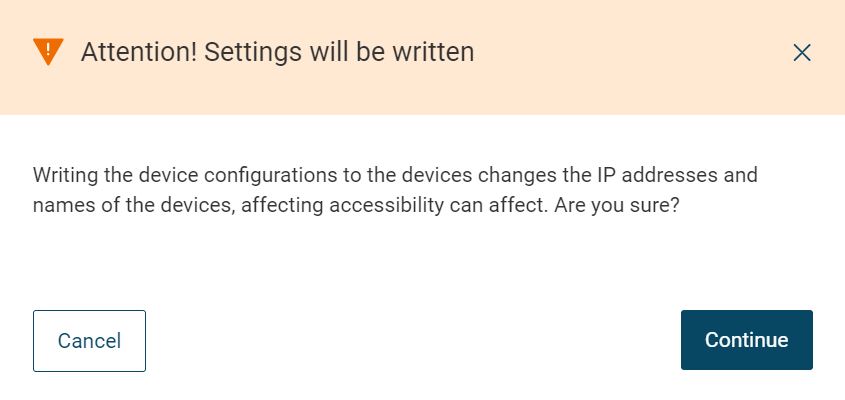
Read the note carefully and click NEXT.
The changed network configuration is written to the device. The progress is displayed to you.

Once the changes are completely written to the device, you can view the changes again.

Click MINAL VIEW to exit the network configuration.