Basic operation
Jul 10, 2026 | 2384 words | 12 min reading time
Log in as a user
Start the BET via the shortcut on the desktop.
The following dialog appears:
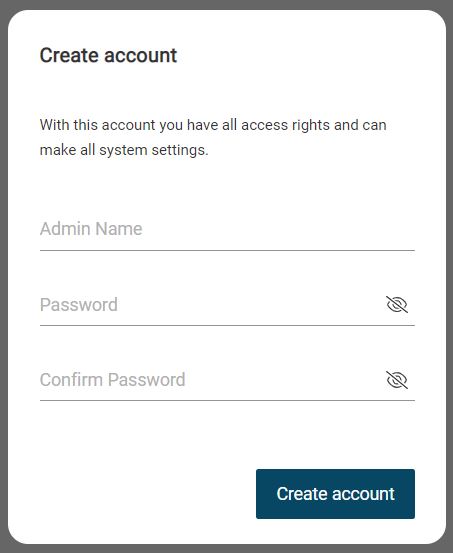
Note
You can use any characters from the ASCII character set and graphic characters from the Unicode character set for the password. A valid password has a maximum of 255 characters and a minimum of 12 characters by default. The minimum password length can be changed by users with the Admin role, but must not exceed the maximum password length of 255 characters. If you enter an invalid or insecure password, you will be notified. Such passwords will not be accepted.
Enter your user name and password and confirm with Login.
You have registered at BET .
Log out as user
Click the button in the navigation bar to open the user management:

The following dialog appears:
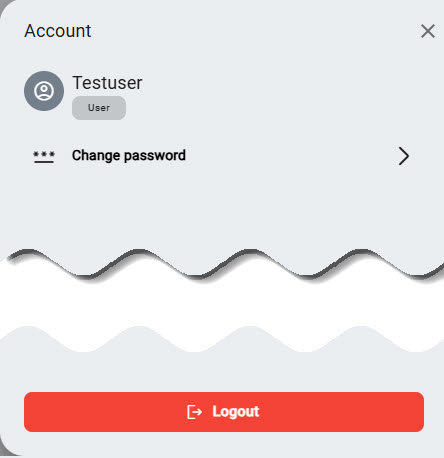
Click Logout.
You have logged out of BET .
Change password
Click the button in the navigation bar to open the user management:
The following dialog appears:
Click Change password.
The following dialog appears:
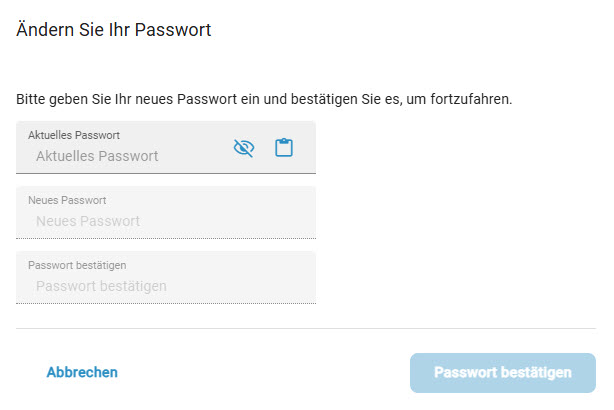
Change your password and click Confirm password.
You have changed your password.
Note
You can use any characters from the ASCII character set and graphic characters from the Unicode character set for the password. A valid password has a maximum of 255 characters and a minimum of 12 characters by default. The minimum password length can be changed by users with the Admin role, but must not exceed the maximum password length of 255 characters. If you enter an invalid or insecure password, you will be notified. Such passwords will not be accepted.
Make user settings
Click the button in the navigation bar to open the user settings:

The following menu appears:
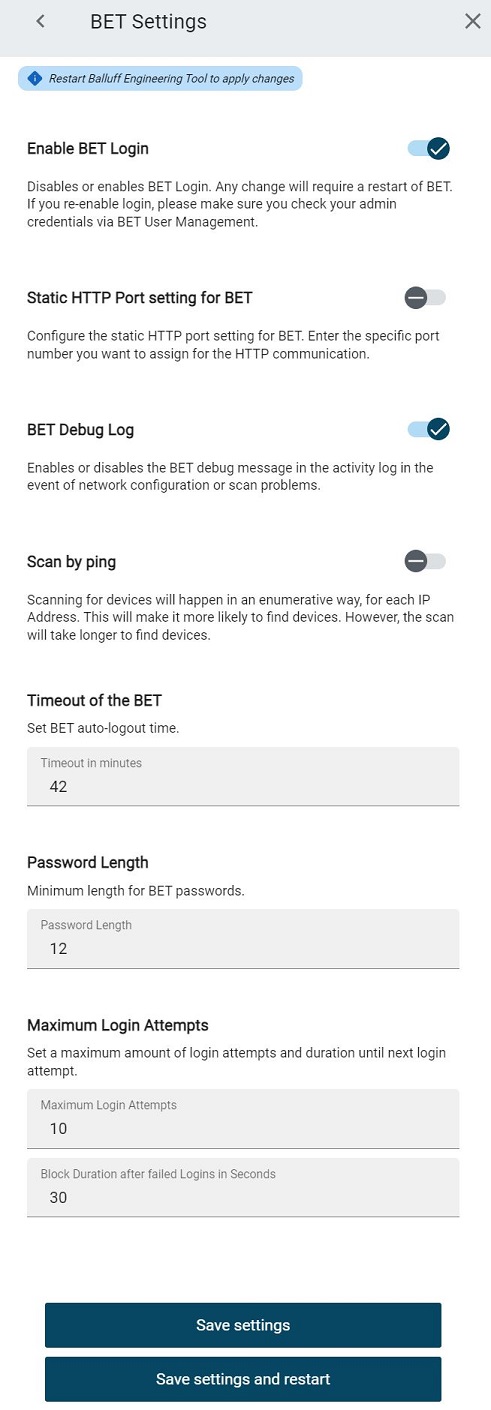
If you want to skip the login when starting BET, deactivate the “Enable BET login” option. This option is activated by default. You must confirm the deactivation with the following prompt. Changes to this setting will only take effect after restarting BET.
With the next entry, you can specify whether the individual password of a BET user is used when you create a new BNI user. If you deactivate this option, random passwords are used when creating new BNI users.
Under Static HTTP port setting for BET you can deactivate the default port and then enter your own port. Changes to this setting only take effect after restarting BET.
Activate Debug log to gain access to debug logs in the log.
Activating Scan by ping searches for devices enumeratively in the entire accessible network. This increases the probability of finding additional devices. However, this type of search takes considerably longer.
In the Timeout in minutes field, enter the desired value in the range from 1 - 1440 minutes after you want to be logged out automatically in the event of inactivity.
With Perform firmware update with backup, you can specify whether a backup of the device and network module data should be performed during firmware updates. Activating this option can make a firmware update take longer. Deactivate the backup if this is not required.
Enable Allow anonymous data collection to allow the collection of anonymized data to improve the software and user experience.
In the Password length field, you have the option of defining a minimum length for BET passwords.
Note
A valid password has a maximum of 255 characters and at least 12 characters by default.
With Maximum login attempts, you can define how many login attempts a user may make with incorrect access data before they are blocked. You can also define here how long the user will be blocked if they have exceeded the maximum number of login attempts.
Click on Save settings to save the changes or Save settings and restart to restart BET after saving the settings.
Show usage information
Klicken Sie in der Navigationsleiste die Schaltfläche zur Anzeige der Benutzungsinformationen:

The following menu appears:
You have the following options:
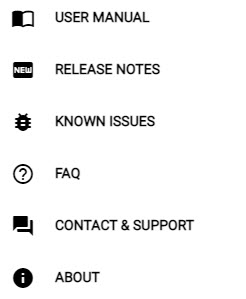
Click USER MANUAL to open this user manual.
Click RELEASE NOTES to open the release notes.
Click KNOWN ISSUES for information about bugs and issues that have been reported and that the development team is currently working on.
Click FAQ to view causes to specific problems and their possible solutions.
Click CONTACT & SUPPORT to open a geosensitive contact page.
Click ABOUT to get the following information:
The version of the BET
The build number
The publication
The Balluff site
Information about open source licenses
The general terms and conditions
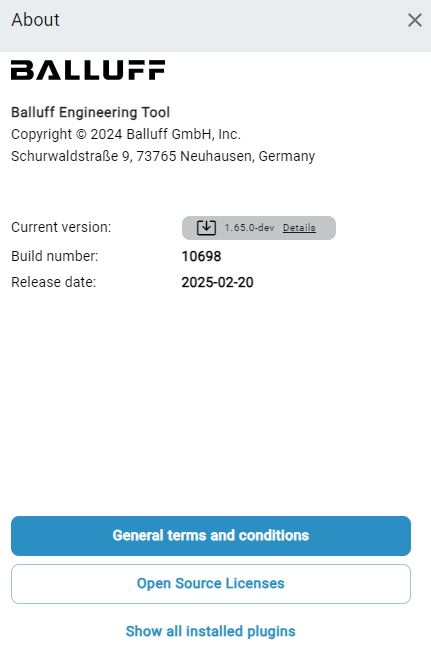
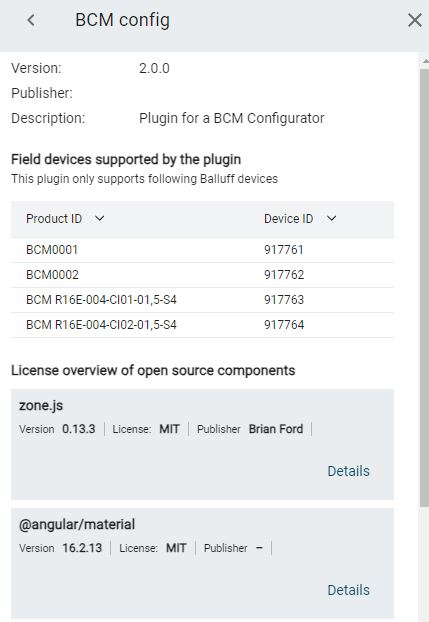
Click on Display all installed plugins to find out which extensions are available for your installation of BET .
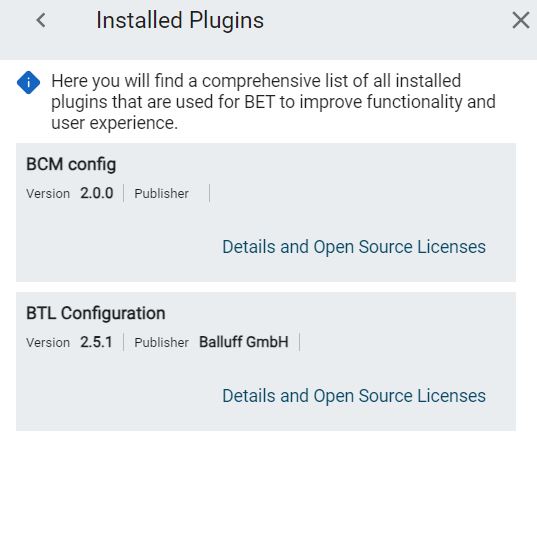
Click on Details and open source licenses to find out more about the respective plugin.
Manage notifications
Certain events or states are displayed to you via notifications. If notifications are present, this is indicated by a red circle. The number in the circle corresponds to the number of notifications:
Show notifications
In the navigation bar, click the button to display the notifications:

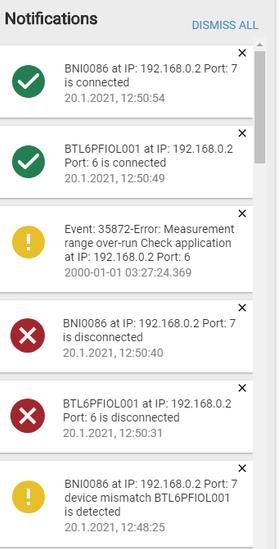
A menu with all current notifications opens.
Delete single notification
Click in the upper right area of the notification  .
.
The notification will be deleted.
Delete all notifications
Click DISMISS ALL.
All notifications will be deleted.
Note
The login notification cannot be deleted.
Notification types
There are several types of notifications:
Login notifications
Notifications about the connection status of an IO-Link device / IO-Link network module
Notification Login
The Login notification informs you that no login has been made yet.
Note
The “Login” notification is pending until a login is made. The notification cannot be deleted.
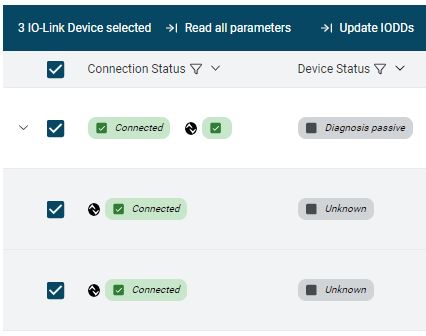
Notification of the connection status of IO-Link devices and IO-Link network modules.
The BET monitors the following:
Status of the IO-Link devices
Status of the IO-Link network modules
Events of the IO-Link devices
For scanned topologies Update must be active.
A new notification is added in the following cases:
An IO-Link device or an IO-Link network module interrupts its connection or reconnects to the network.
An IO-Link device other than what was originally found in the topology has connected to the port.
An event occurs at the IO-Link device.
Note
If an IO-Link network module loses the connection status to an IO-Link device, the IO-Link network module does not send a connection interruption notification.
Change the language of the user interface
Click the button to change the user interface language in the navigation bar:
.

The language selection menu opens:
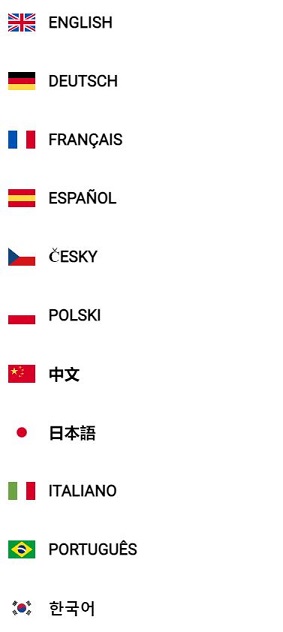
Click the desired language.
The user interface will be changed according to your selection.
Manage users
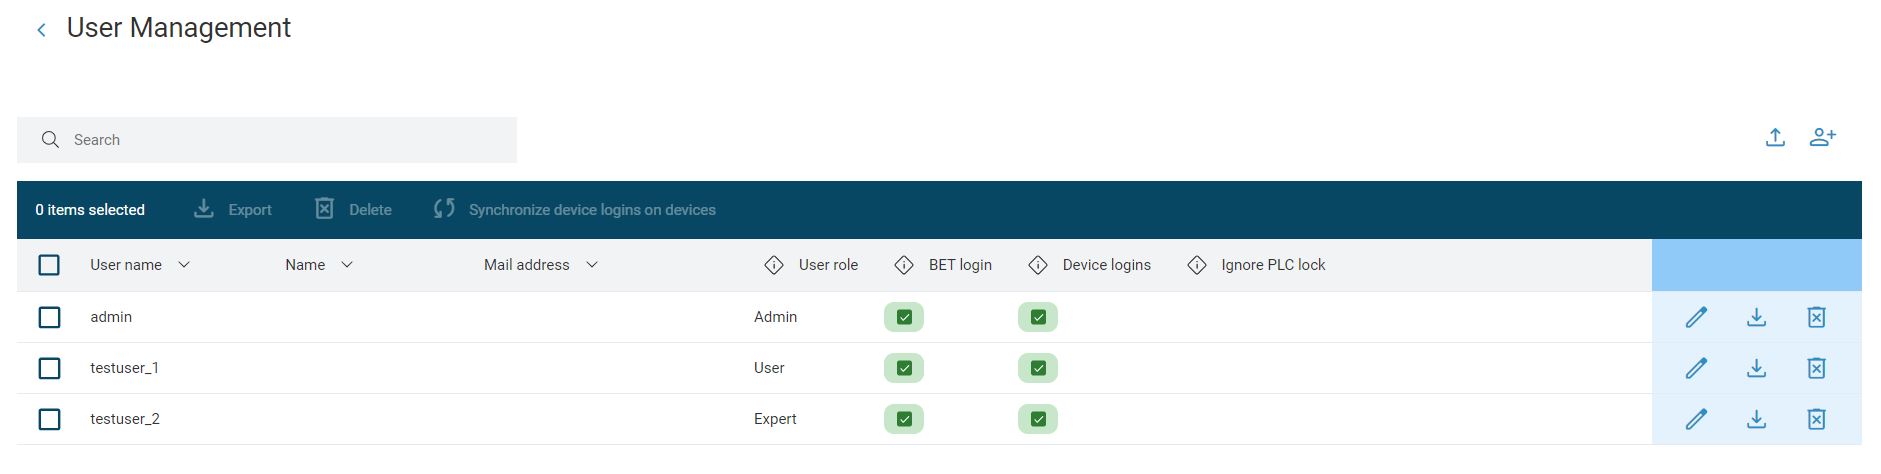
User management overview
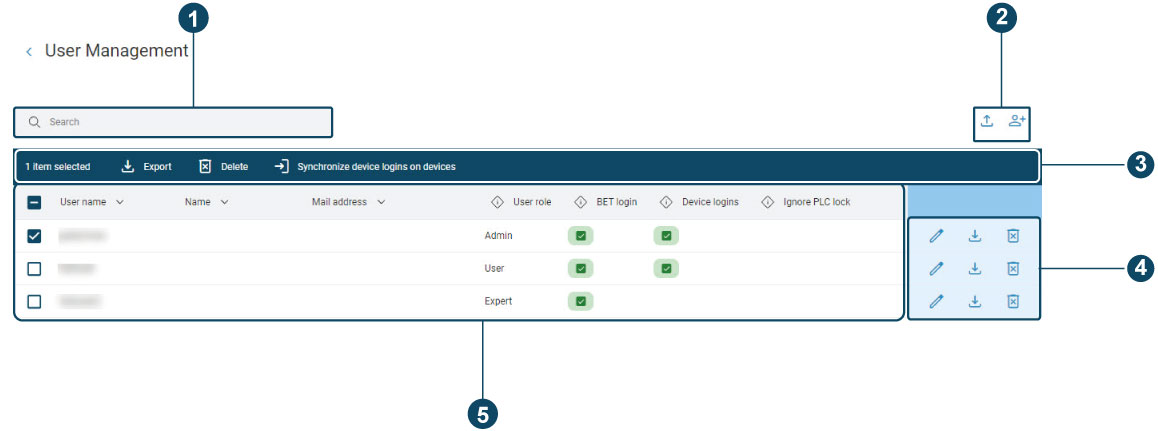
In the user administration you add BET users and edit or delete them.
Pos. |
Description |
|---|---|
1 |
Filter users, see Filter users. |
2 |
Add/export users, see Add user, Export user. |
3 |
Export/delete/synchronize users, see Export user, Delete user, Synchronize device logins on devices |
4 |
Edit/export/delete users, see Edit user, Export user, Delete user. |
5 |
User information, see Open user management. |
You assign user roles to created users, through which you grant permissions to use certain functionalities:
Functionality |
Authorized user role |
|---|---|
User Management |
Administrator |
Import topology |
Administrator, Expert |
Export topology |
Administrator, Expert |
Save project |
Administrator, Expert |
Activity log |
Administrator (all entries), |
Set devices |
Administrator, Expert |
Import devices to catalog |
Administrator, Expert |
Bypass SPS lock |
All (activation by administrator in |
Note
You can only access the user administration with the “Administrator” (admin) user role.
Open user management
Click the button in the navigation bar to open the user management:

The User management dialog appears.
You have the following options to set the number of lines and navigate between pages:
In the Lines per page list, select whether you want to be shown 5, 10 or 15 lines (users) per page.
Click > to scroll to the next page.
Click < to scroll to the previous page.
Add user
Open the user administration.
Click
 .
.
The following dialog appears:
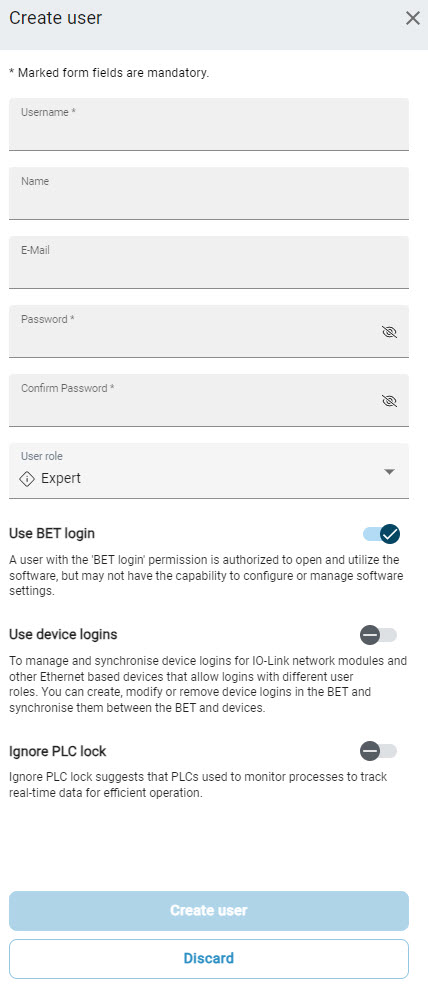
Create the new user. The user name and password are mandatory fields. The name and e-mail address are optional.
Note
You can use any characters from the ASCII character set and graphic characters from the Unicode character set for the password. A valid password has a maximum of 255 characters and at least 12 characters by default. You can change the minimum password length, but it must not be less than the minimum password length of 8 characters and must not exceed the maximum password length of 255 characters.
If necessary, change the default values for the number of failed login attempts and the duration of the login lock.
Assign the user his role (ADMIN, EXPERT, USER).
Click Use BET login to give the new user this authorization.
Click Use device logins to give the new user this authorization.
Note
This option enables the created user to manage users for the field devices.
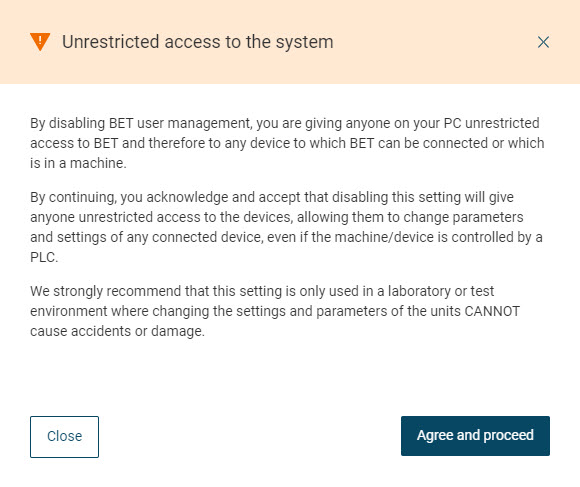
Only for user role Admin or Expert: If the user is to be authorized to change parameter values of IO-Link devices even though a PLC is present, activate Ignore PLC lock.
The following dialog appears:
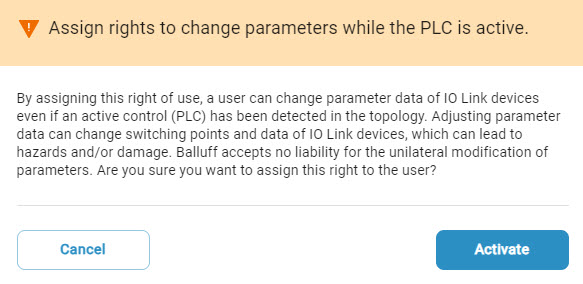
Click Activate to grant this authorization or Cancel to cancel the granting of this right of use.
Click Create user to save the new user. Click Discard to cancel the process.
Edit user
Open the user administration.
Select the user you want to edit.
Click
 .
.
The editing mode is active. The following dialog appears:
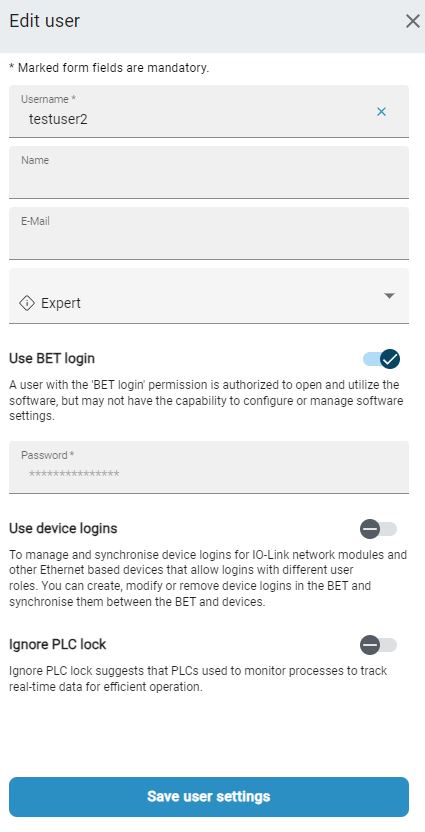
Edit the user.
Note
To allow the user to manage users on the connected field devices, you must activate the option Use device logins and then define a password for synchronization.
Click Save user settings to save the changes.
Delete user
Open the user administration.
Select the user you want to delete.
Click
 .
.
The following dialog appears:
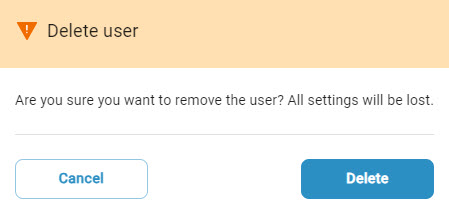
Click DELETE to delete the user. Click CANCEL to cancel the operation.
Filter users
Open the user administration.
Enter a character string in the search field to filter the list of users.
The list of users is filtered at the same time as they are entered.
Export user
You can export all created users from an existing topology in order to attach them to the machine documentation as a ZIP file. The export is also useful if you import generic logins within a company into all devices that require authentication in order to save commissioning time.
Select the user you want to export.
Click
 .
.
The following dialog appears:
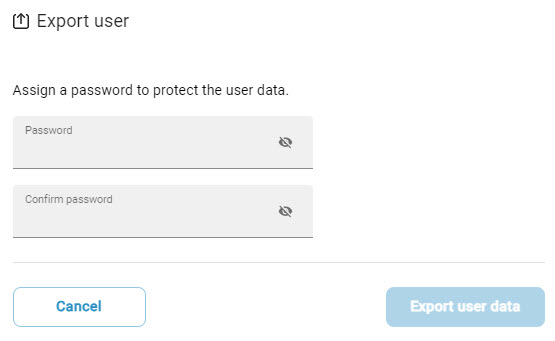
Assign a password to protect the exported user data.
Click Export user data to save the user data. Click CANCEL to cancel the process.
Import user
You can import the exported users as follows:
Open the user administration.
Click
 .
.
The following dialog appears:
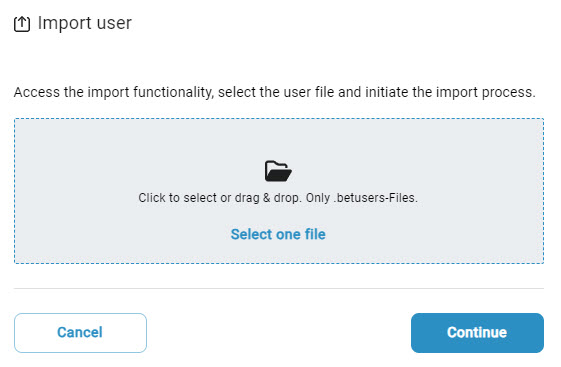
Hold down the left mouse button and drag the desired user data file within the dotted frame and release the mouse button to upload it. Alternatively, you can also click within the frame area to select the file in the file system.
The following dialog appears:
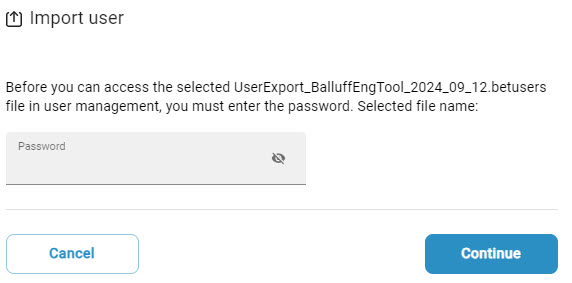
Enter a password and click Next.
The following dialog appears if an attempt is made to import an existing user:
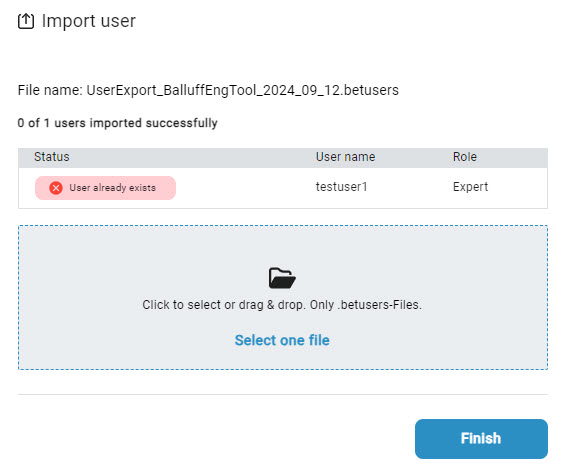
Click Done.
Synchronize device logins on devices
You can synchronize created user accounts with devices in the field.
Open the user administration.
The following dialog appears:
Select the device logins that you want to synchronize to field devices and click
 to start the synchronization.
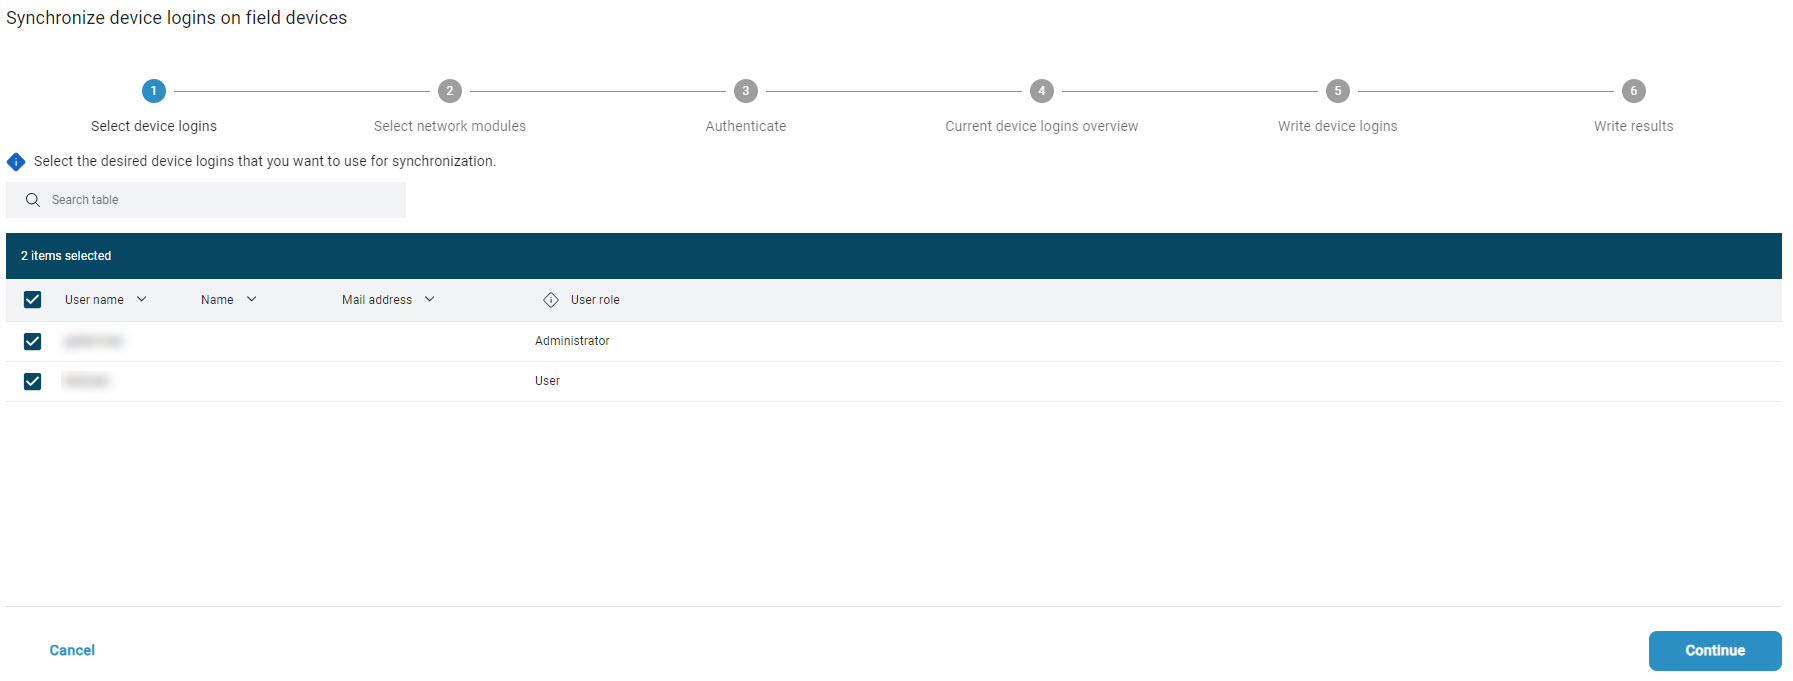
The following dialog appears:

Select the device logins that you want to synchronize to field devices and click Next.
The following dialog appears:
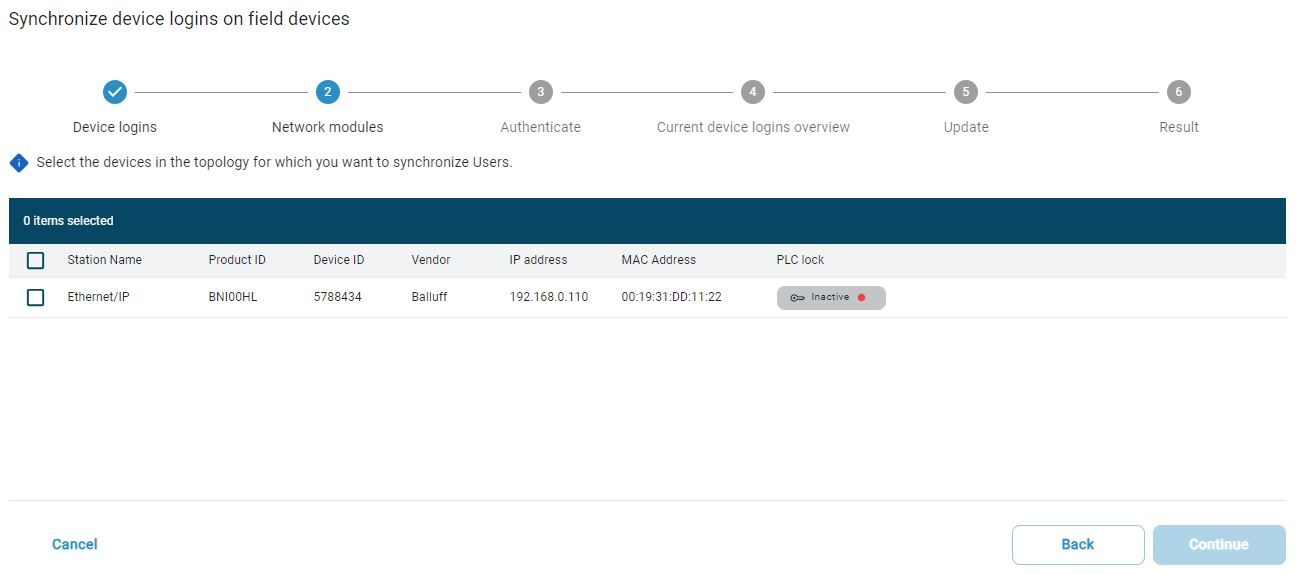
Select the devices in the topology for which you want to synchronize the users and click Next.
If you have not yet logged on to the device in the topology, the following window will appear:

Log in with your user name and password for the device and click Next.
An overview of the users appears:
Click on
 to expand the overview.
The following window appears:

Note
In this overview, both the users in BET and the users on the selected device are displayed in detail. Users can be added here in both directions. When transferring users from the field device to BET, you must define a password for the device:

Select the users you want to synchronize and click on Update device logins.
The following warning appears:
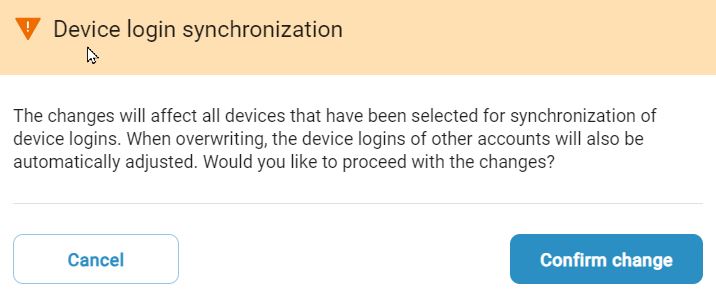
To write the device logins, click Confirm change.
The following dialog appears:

Customize table view
Some information is displayed in a table view. You can customize the table view for better clarity.
Filter with search term
Enter a search term in the search field.
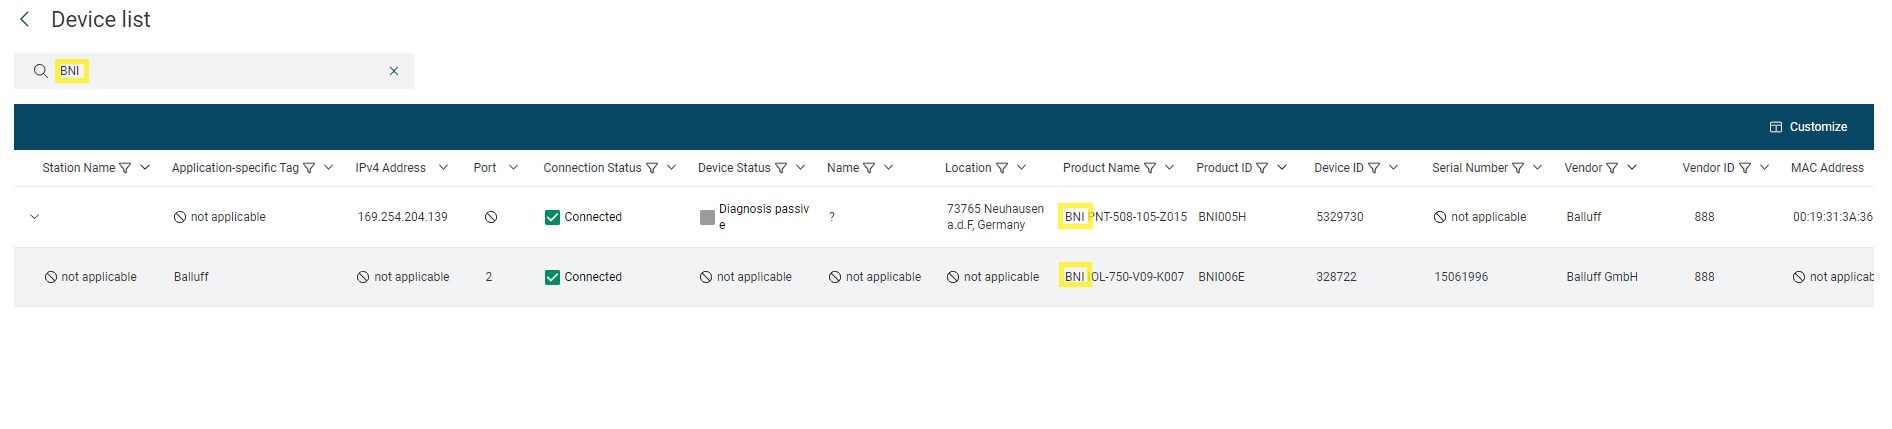
Search term “BNI”
The table view is filtered accordingly.
Navigate to table view
To set the number of entries per page, select the desired value from the list below the table.

Number of entries per page: 10
A maximum of the specified number of entries is displayed per page. The numbers of the currently displayed entries and the number of total entries are also displayed.

Entries 1-2 of a total of 2 entries are shown on the current page
To navigate to another page, select the desired page number from the list.

Navigate to page 1
To scroll between pages, use the arrow keys. To move forward one page, click >. To turn back one page, click <.
The desired page is displayed.
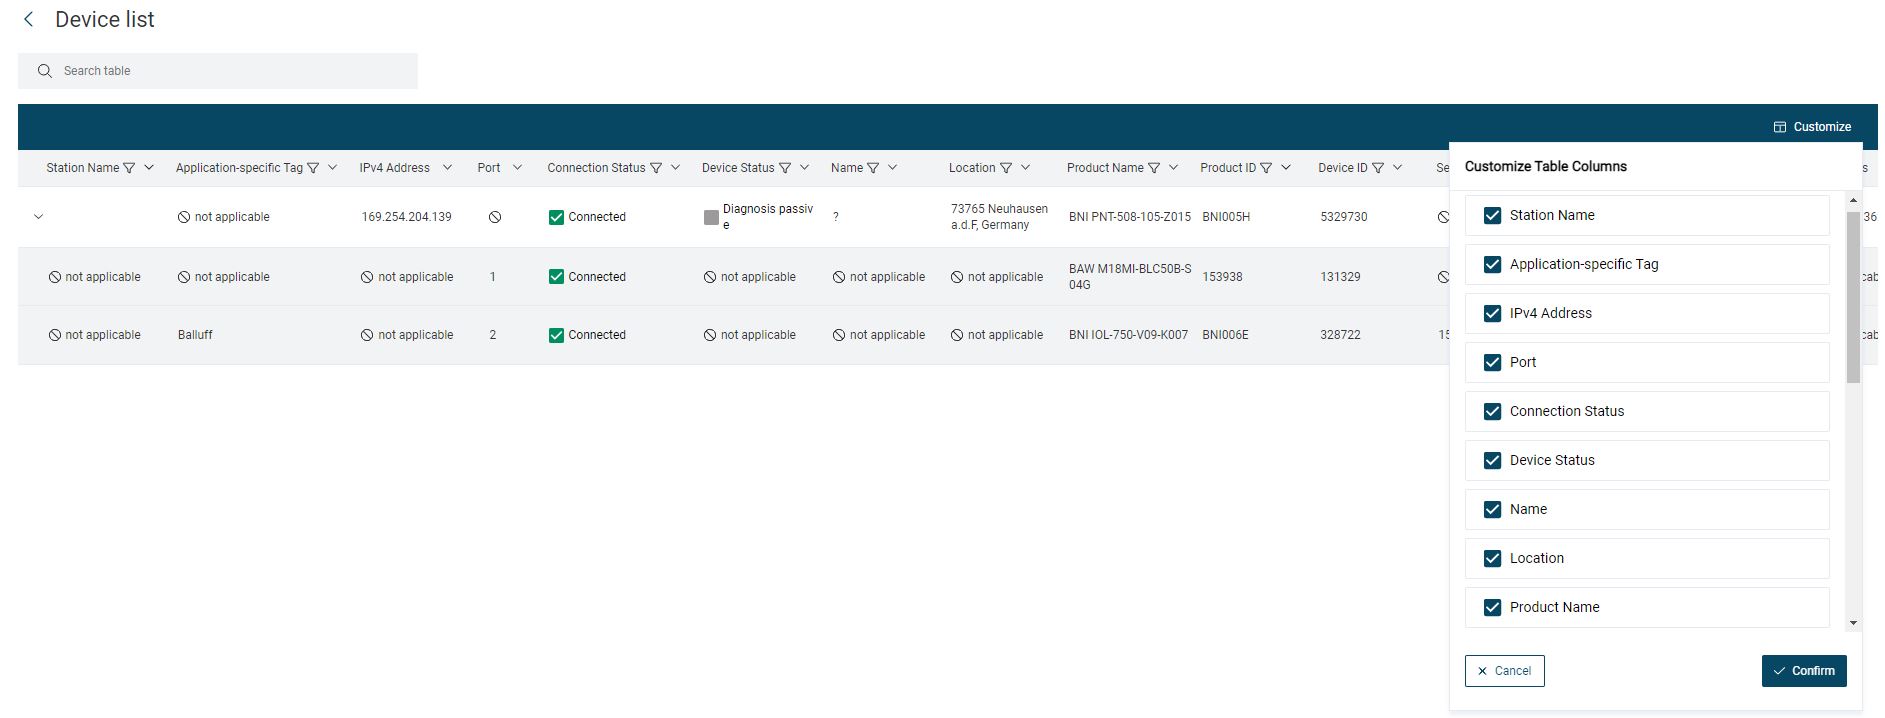
Customize columns
You can customize the columns displayed, for example, hiding categories that are not relevant to you from the table view.
In the table view, click Customize and uncheck the categories you want to hide.
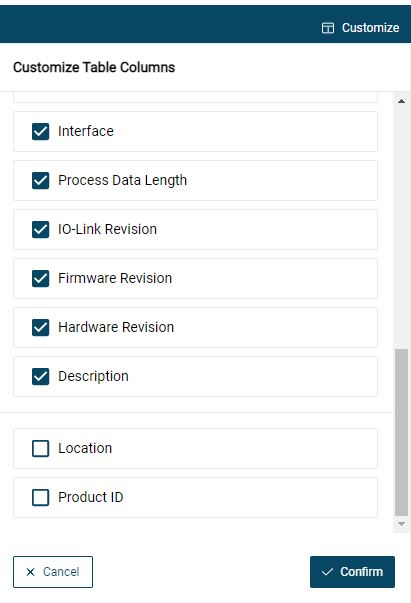
Customized view. The categories Hardware Revision and IO-Link Revision are hidden
Click Confirm.
All deselected categories will not be displayed in the table view after the transfer.
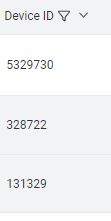
Sort columns
You can sort the entries in the columns in ascending or descending order.
Click
 .
.
The table entries are sorted in ascending order:
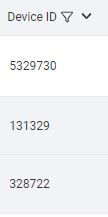
Entries sorted in ascending order
Click
 .
.
The table entries are sorted in descending order:
Entries sorted in descending order
Filter columns
You can filter the displayed columns and thus, for example, hide entries that are not relevant for you from the column. Filter criteria are interpreted as an “AND operation”.
Click
 , activate the entries to be filtered by and click OK.
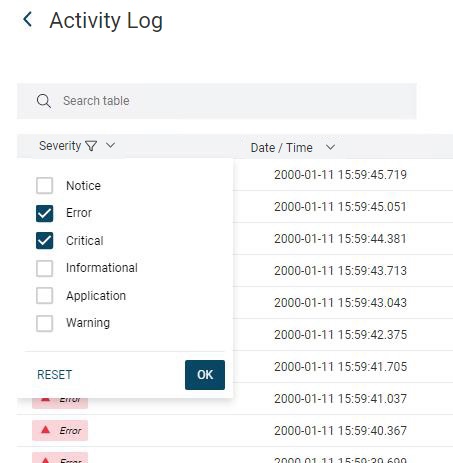
Example: Only the severity levels Error and Critical are displayed.
The column is filtered accordingly. The filter icon changes ( ) to indicate that a filter is set. The set filters are displayed as tags in the upper right corner:
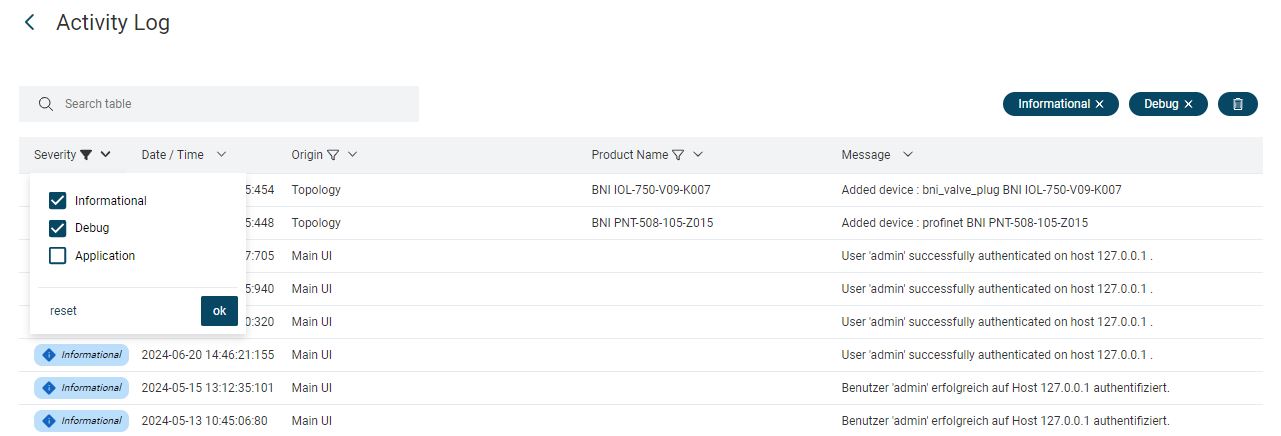
To delete a filter criterion, click in the tag
 . To delete all filters, click
  or in the filter selection RESET.
The filter(s) will be reset.
Activate lines for action
Select the check box for the line for which you want to perform the action, for example, write changed values to the device.
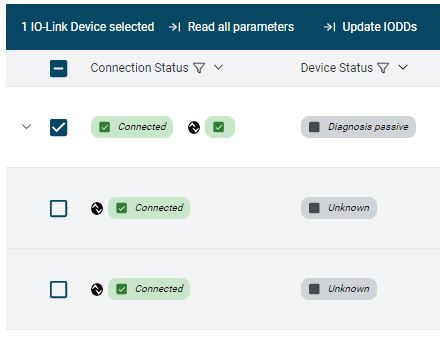
Single line selected
To enable all lines, click the checkbox in the top line.
All lines marked
The selected lines are highlighted and the action can be performed.
BET-Perform self-update
The BET is able to update itself if a newer version should be available online. You will be notified of a new BET version when you start the BET .
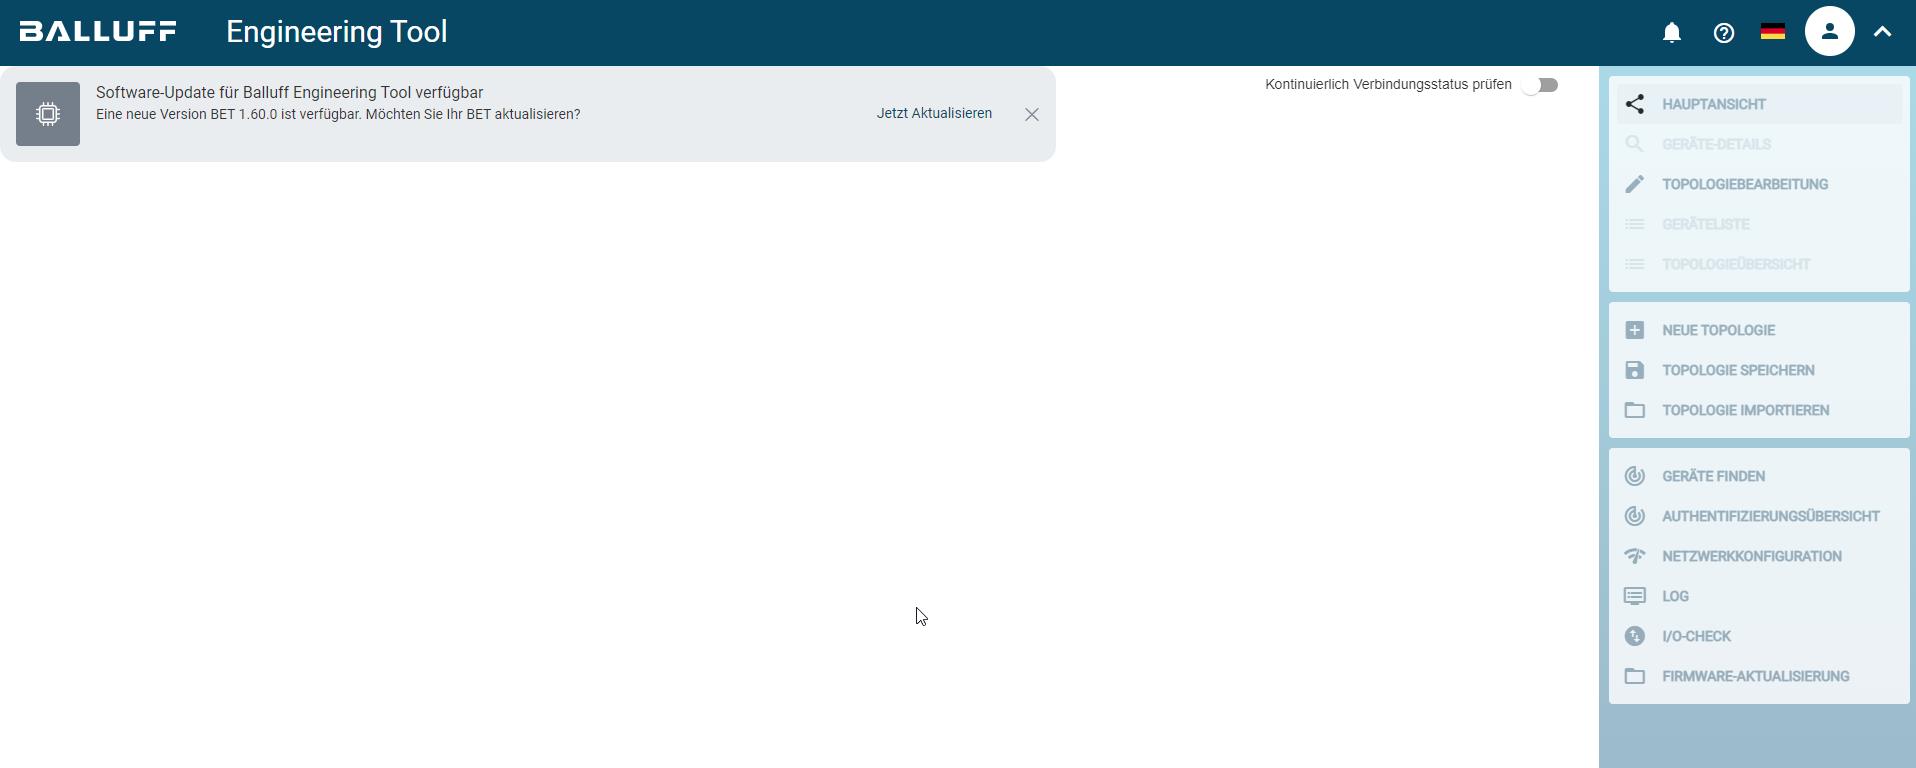
Start screen with indication of new BET version
Click Update now.
A sidebar opens with information about the currently installed version and the BET version available in the cloud.
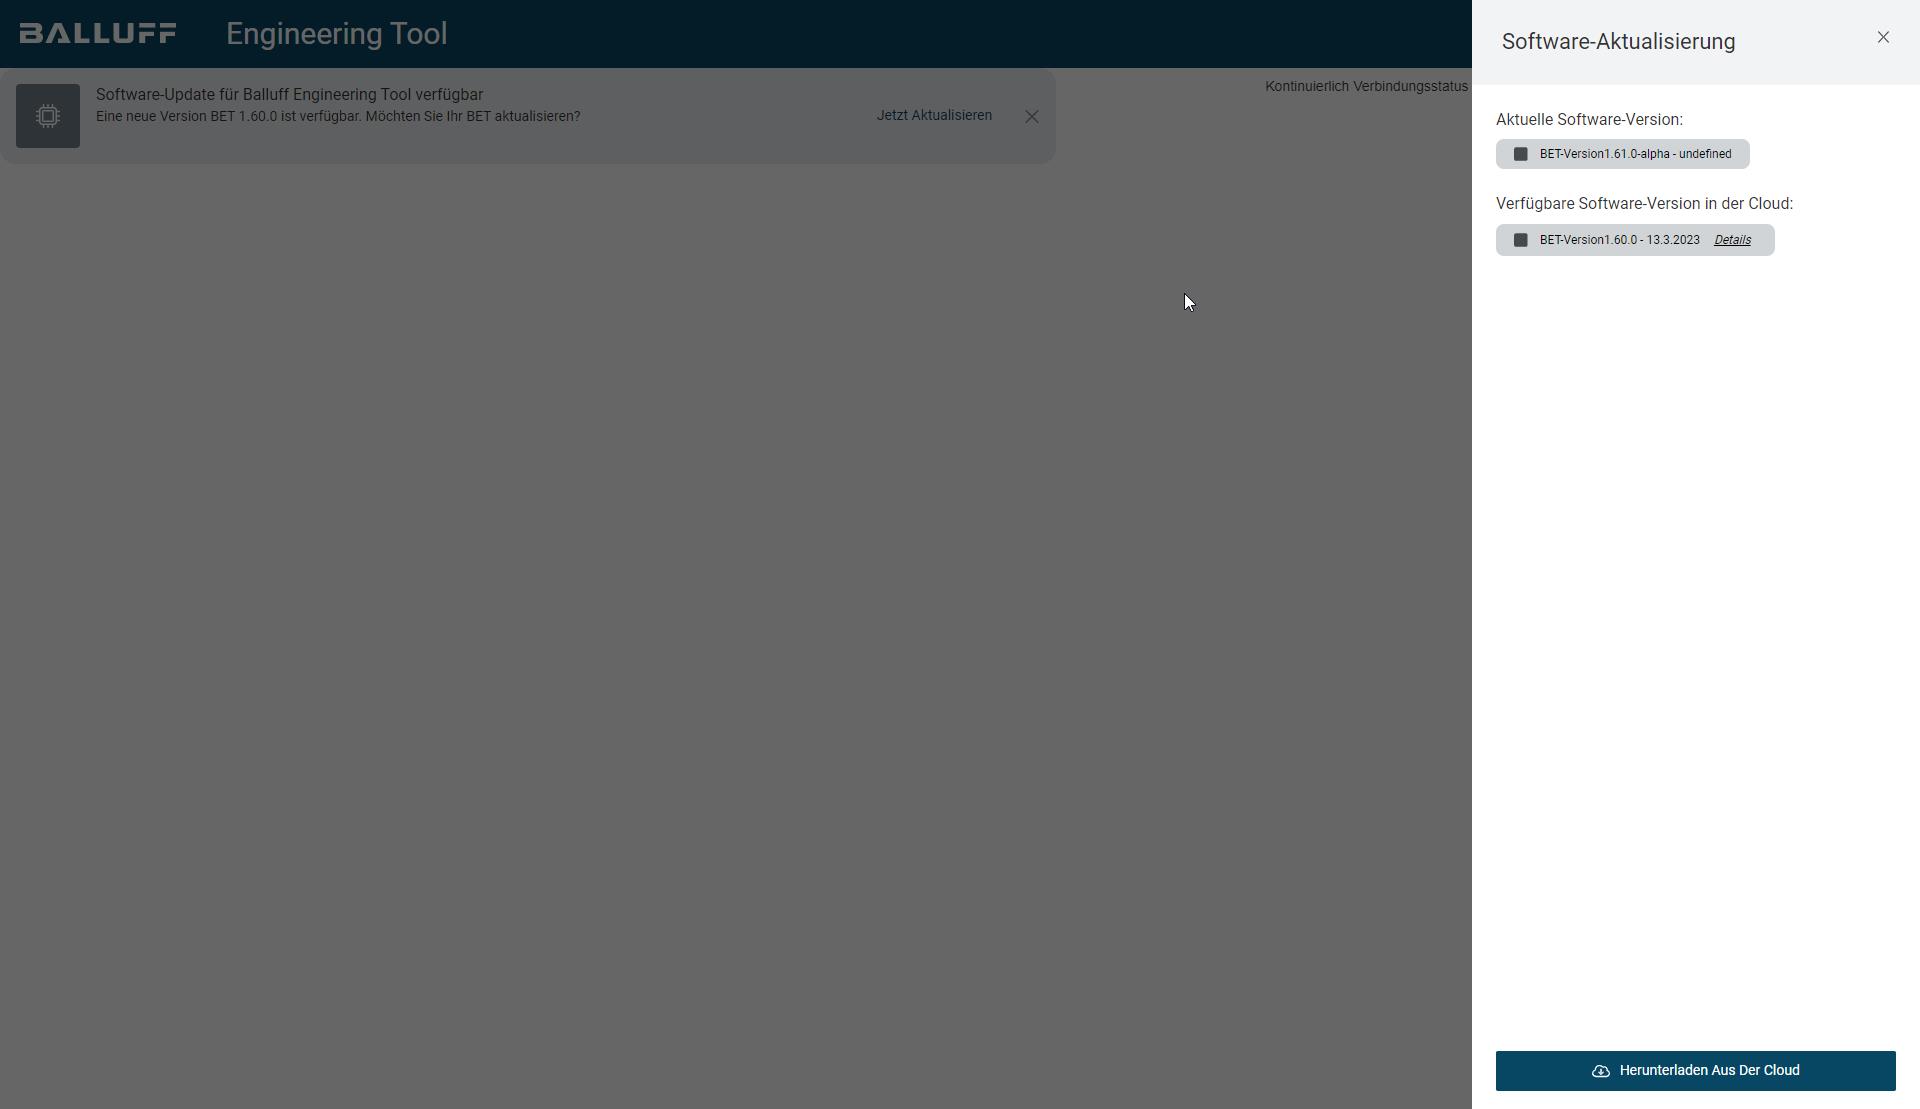
Self-Update - Available Versions
To get more information about the available version, click Details.
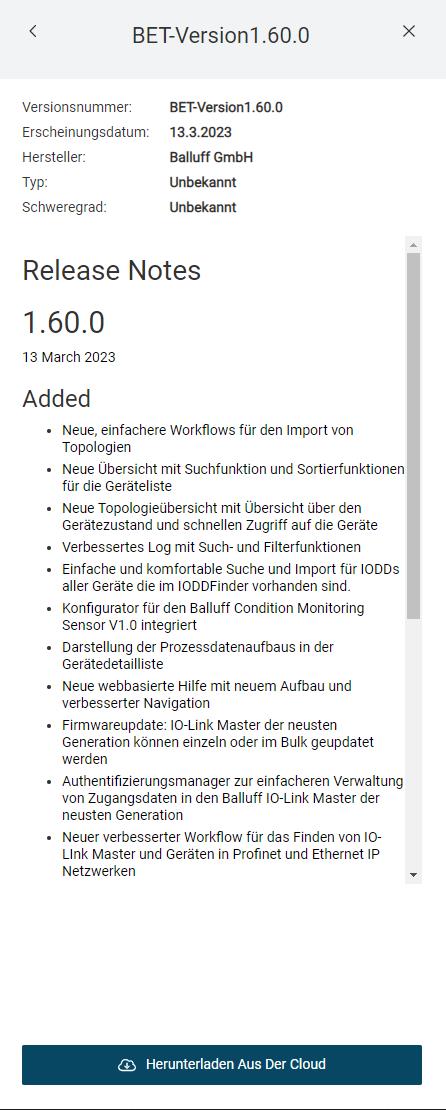
Self-Update - Details
To upgrade to the available version in the cloud, click Download From The Cloud.
After downloading, the following dialog appears:

Self-Update - Start Installation
Click Install new software version to install the downloaded version of the BET . If you do not want to install the downloaded version of the BET , click Delete Software Version.
If you have selected Install new software version, the following dialog appears:
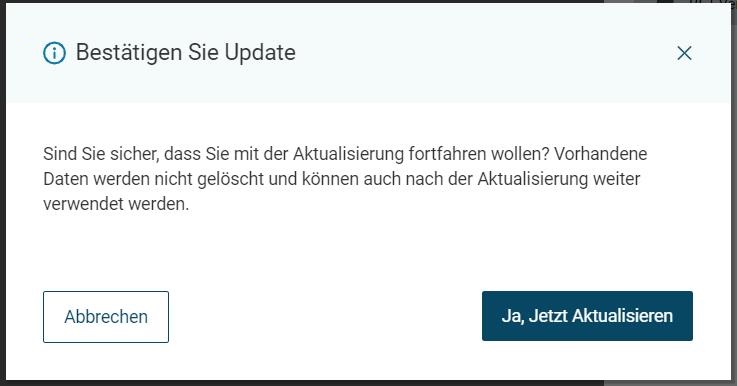
Self-Update - Confirmation
Click Yes, Update Now.
The BET is closed and the new version is installed.