Initial OPC-UA configuration
First steps
Before you begin
Check if the product variant supports OPC UA
Currently BNI XG5-508-… and BNI XG5-538-… variants provide OPC UA Server
Check if latest firmware update installed on the product.
OPC UA is available from firmware version 1.4.0 Further info on ‘How to update firmware via Balluff Update Platform’, please see chapter Firmware
Steps
Enabling the OPC UA Server via the Web UI
To access the data, the OPC UA server must first be enabled in the Web UI. To do this, log in to the device, navigate to Settings, and click on the IoT tab. At the bottom of the page, you will find the collapsed section “OPC UA Server Settings” Open this section to enable or disable the server.
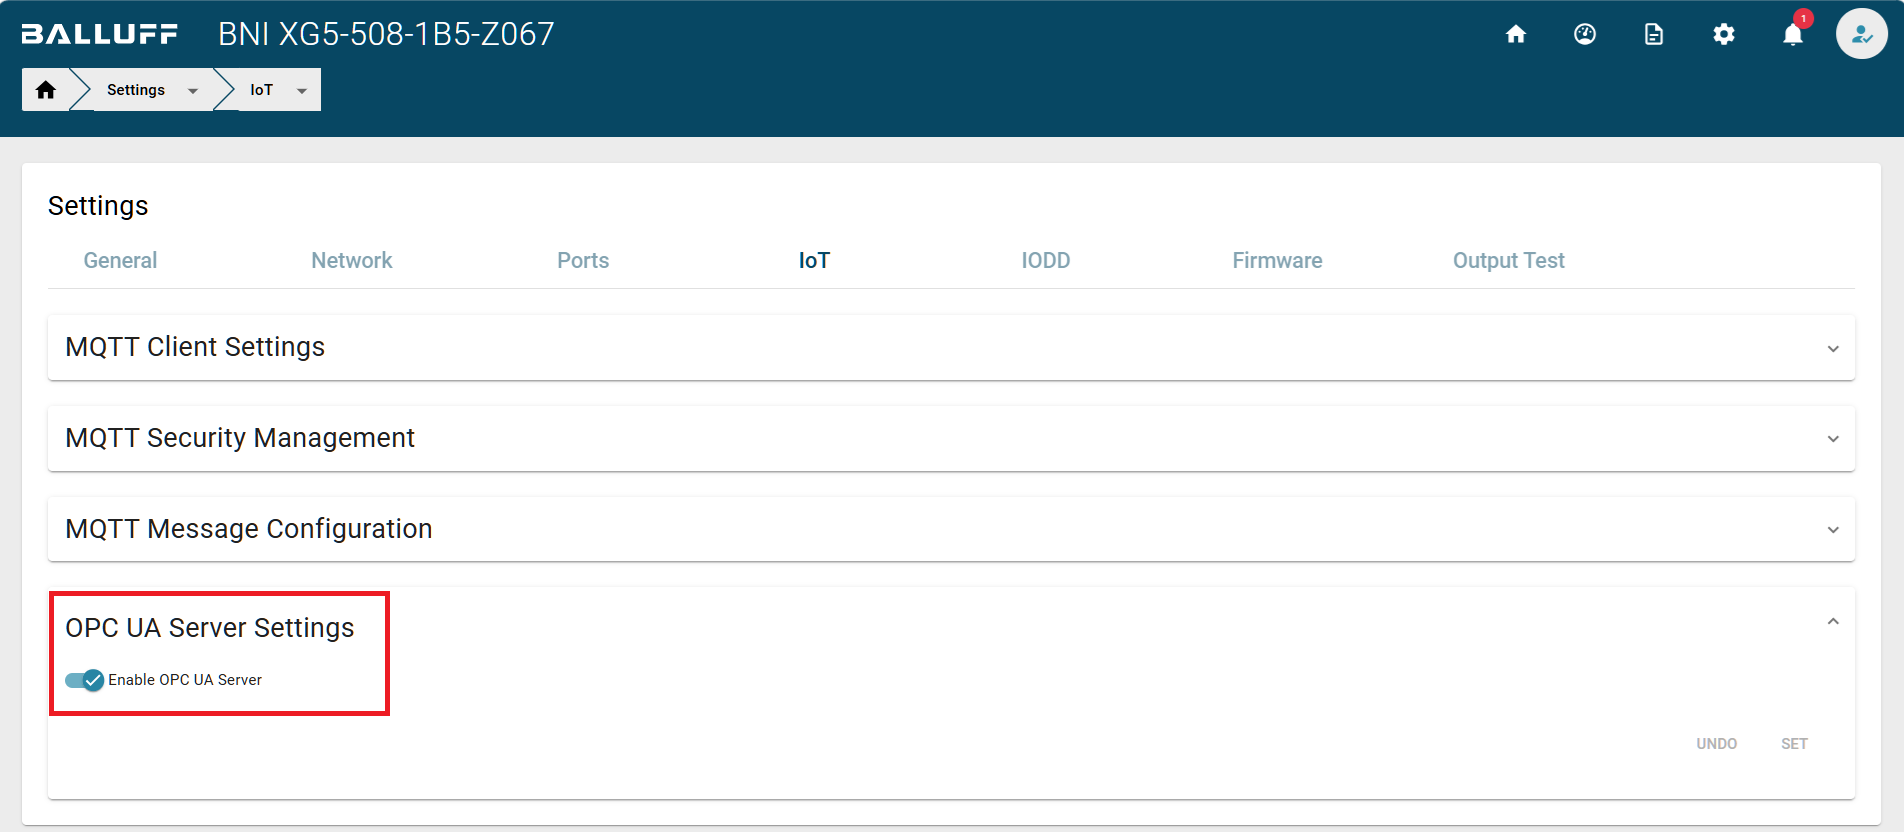
⇒ By default, the OPC UA server is disabled. After changing the setting, the master must always be restarted for the change to take effect.
Access to the OPC UA server
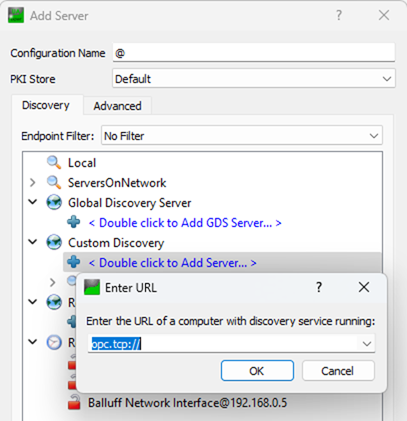
⇒ Credentials: username and password are always identical to the credentials used in the WebUI ⇒ Endpoint URL: opc.tcp://<IP-Address>:4840
Tools
One possible application for accessing the data is the freely available UaExpert from Unified Automation [1].
Before you begin
Make sure that:
The BNI module is connected to a laptop or the PC via Ethernet cable correctly
Accessing the WebUI via web browser is successful (proofing the connection is alive) See WebUI/web interface
Steps
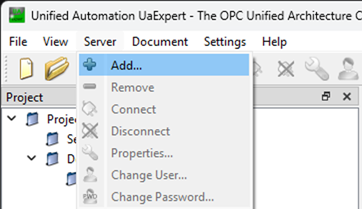
After starting the tool, you need to add a new server.
After double-clicking the + under Custom Discovery, you can specify the endpoint URL shown below.
In the lower section, you then select the field with username and password and enter the same data as when logging into the WebUI. Anonymous login is denied.
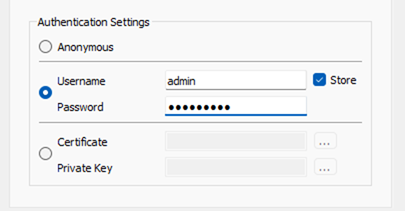
Warning
Username, password and data are always transmitted unencrypted due to the currently used security mode settings!
If the server is running and the input data was correct, the available address space will appear in the bottom left corner.
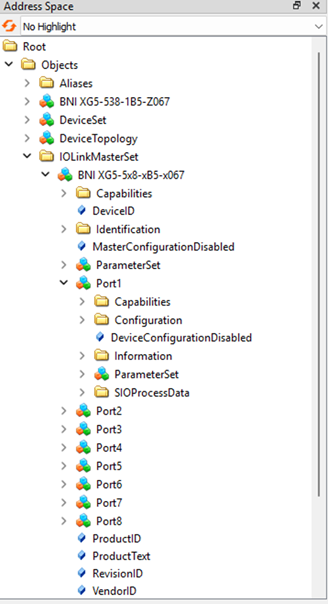
These nodes can then be dragged into the center (Data Access View) to display the corresponding values.
