Connect with Impact Control Center#
Prerequisite
- You have completed the network configuration.
- You connected a trigger sensor to Trigger Port1.
This chapter describes an Impact Control Center (ICC) workflow to connect to the RadarImager. Other compatible GenICam/GenTL client software can also be used, but the user interface steps in this chapter are specific to ICC.
To acquire the first image with ICC, install the software, establish a connection with the RadarImager, do the initial ICC configuration and trigger image acquisition with an external trigger sensor connected to Trigger Port1.
Install Impact Control Center#
- Open the BAI BVA - Balluff Impact Acquire download page.
- Click on Downloads and select the desired executable according to the operating system you want to use (Windows, Linux, macOS). A setup file is downloaded to your download folder.
- Execute the downloaded file to start the installation.
Impact Control Center User Interface#
The main parts of the user interface are as follows:
Tip
Click on the screenshot to enlarge it.
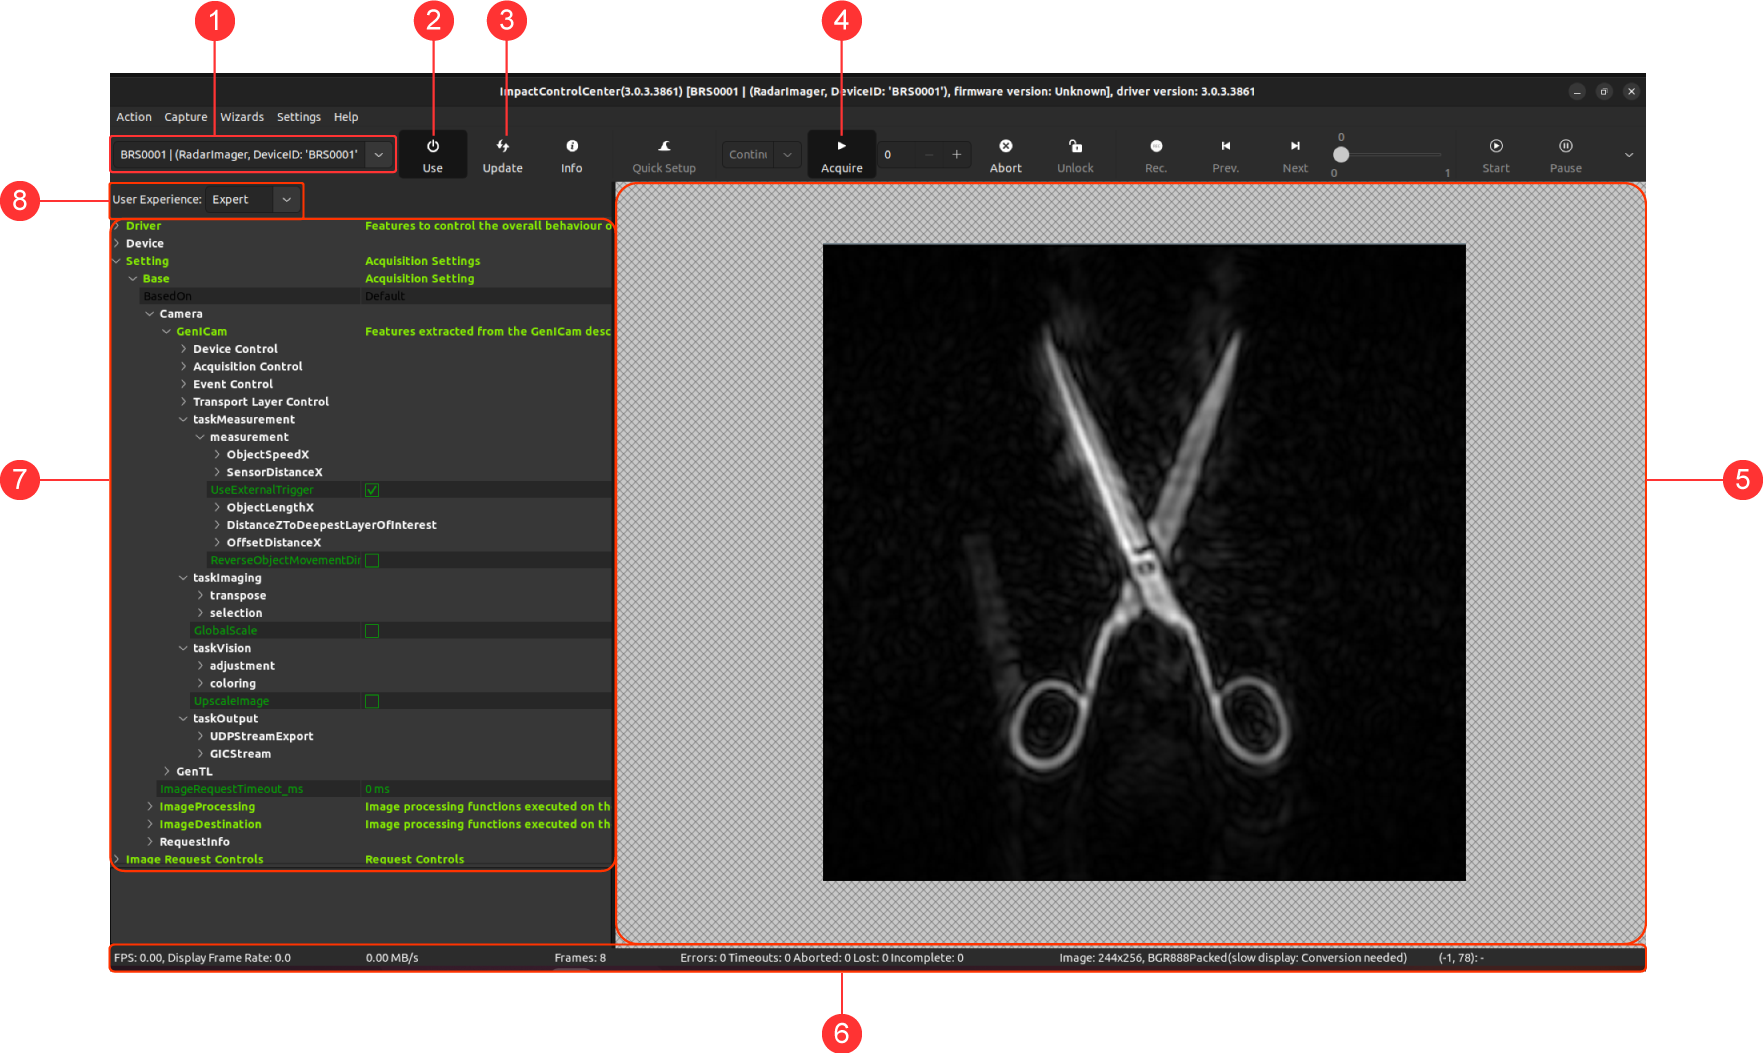
| Pos. | Description |
|---|---|
| 1 | Drop-down menu with detected devices. |
| 2 | Use button: Reads out the properties of the device and displays them in the property grid. |
| 3 | Update button: Scans the network for compatible GeniCam/GenTL devices |
| 4 | Acquire button: Acquires the 3D images |
| 5 | Image area: Displays the acquired images |
| 6 | Status bar: Displays information about acquisition, for example, the number of frames and error messages. |
| 7 | Property grid to display information about the device and to configure the system for acquisition. |
| 8 | Drop-down menu to select the user experience. This influences the number of properties displayed in the property grid. |
Create a firewall rule for Impact Control Center (Linux only)#
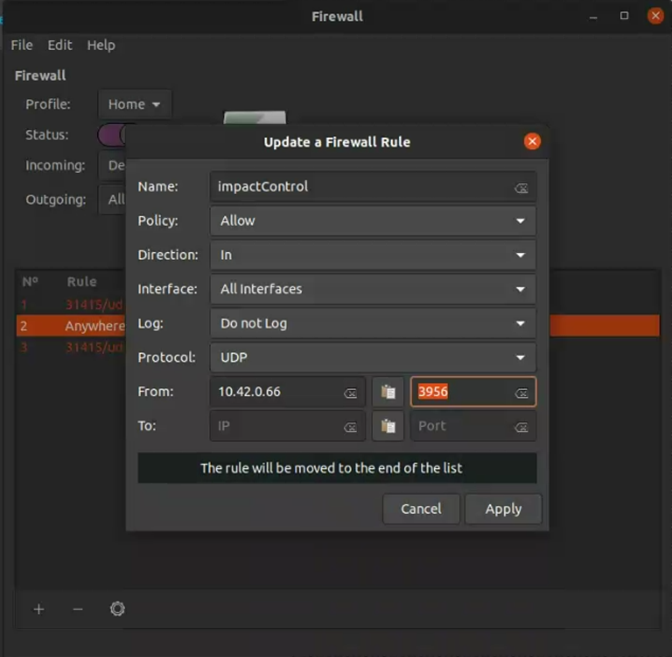
If a firewall is active on the Linux host system, create an allow rule so that Impact Control Center can receive images from the RadarImager.
The firewall rule must allow the following incoming connection:
- Source IP address:
10.42.0.66 - Port:
3956 - Protocol:
UDP
- Open your firewall configuration tool, for example
gufwon Ubuntu 22.04. - Add the allow rule for Impact Control Center as shown below.
- Apply the rule and retry the connection in Impact Control Center.
Distribution-specific tools
The exact steps depend on your Linux distribution and firewall frontend, but the required result is the same: Impact Control Center must be allowed to receive image data.
Establish connection#
- Connect your computer with the RadarImager via the Ethernet connection (RJ45).
-
Start Impact Control Center.
Note
By default, the following warning message appears when you open the application:
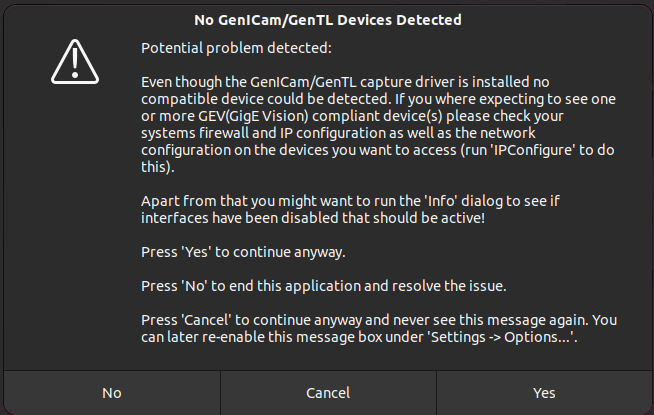
Click Yes to continue.
-
If your device is not automatically detected by the application, click Update to scan for compatible GenICam/GenTL devices:
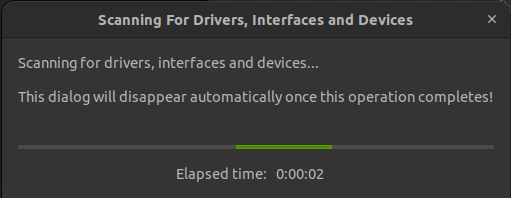
Once finished, detected GenICam/GenTL devices are available via the drop-down menu at the top left of the toolbar:

-
Click Use to establish connection.
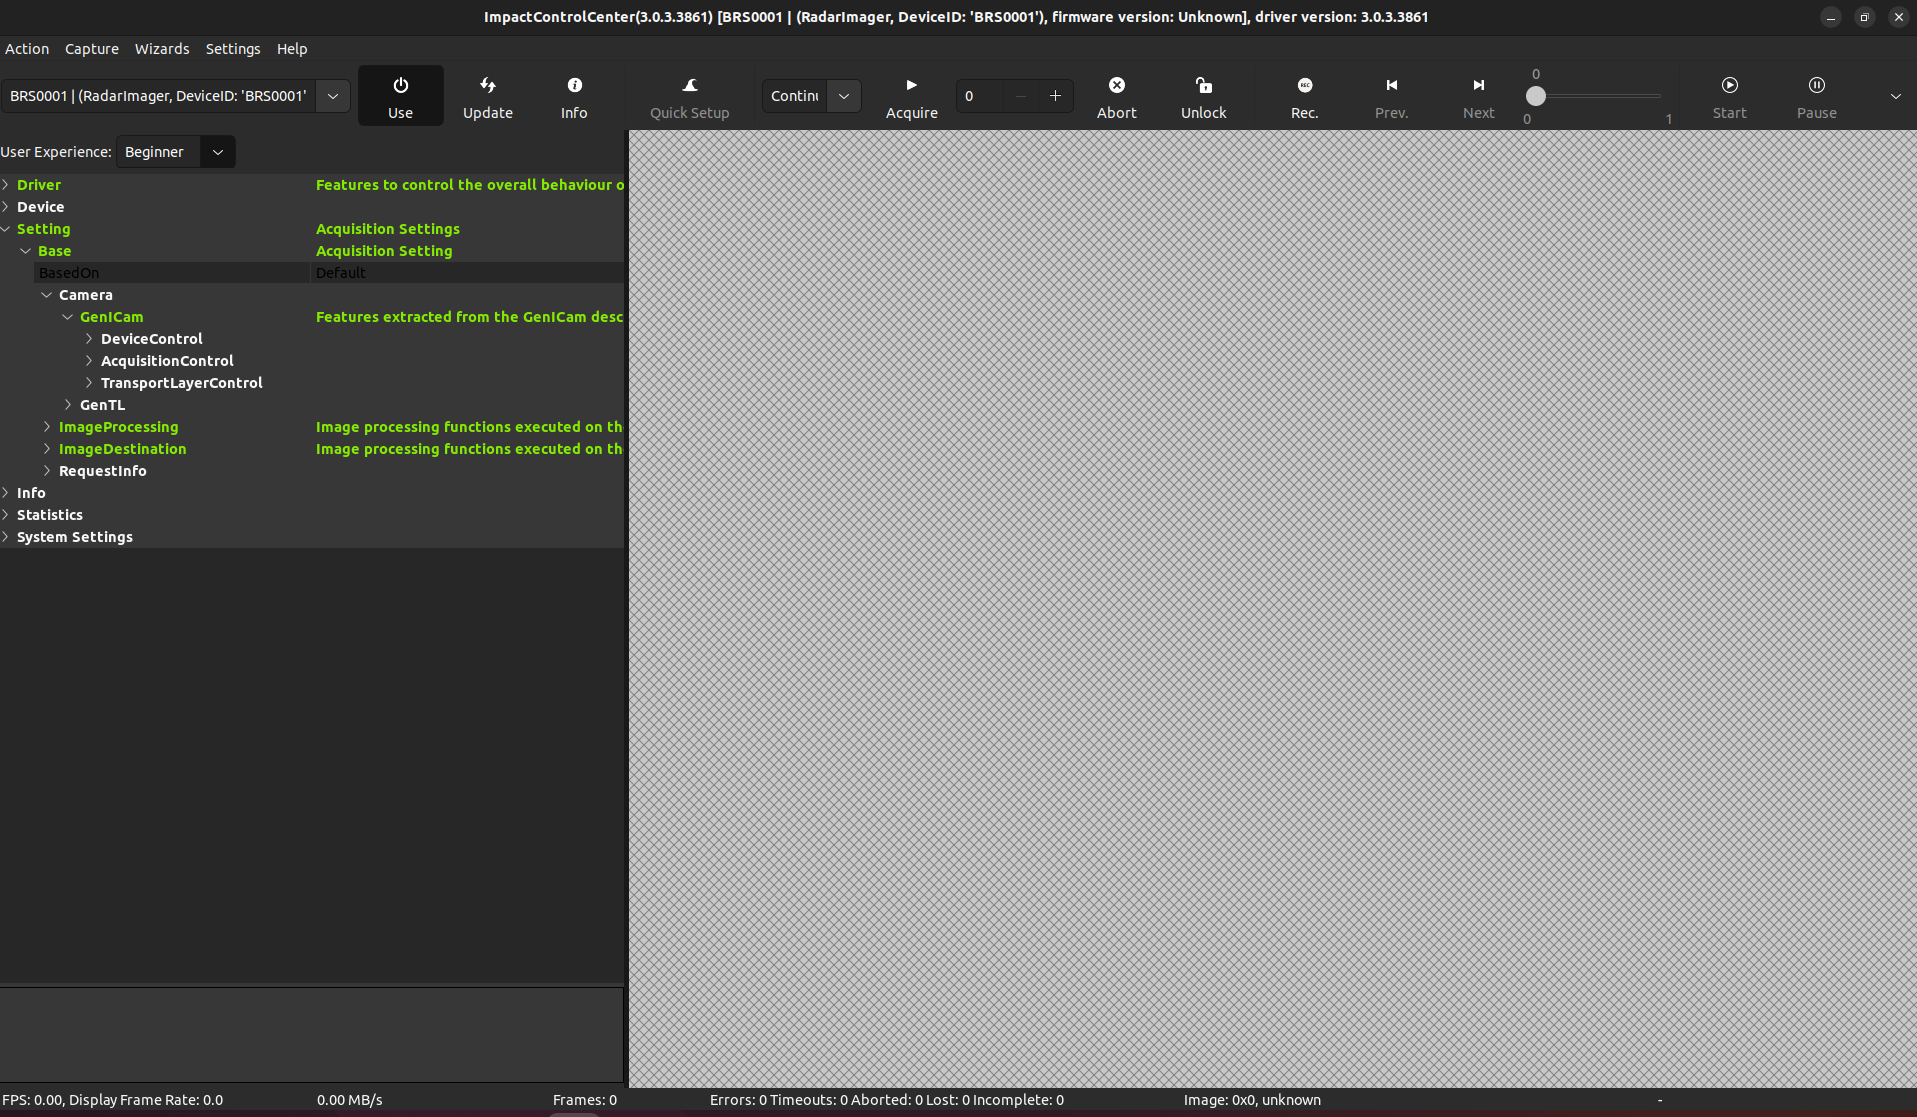
Initial configuration in Impact Control Center#
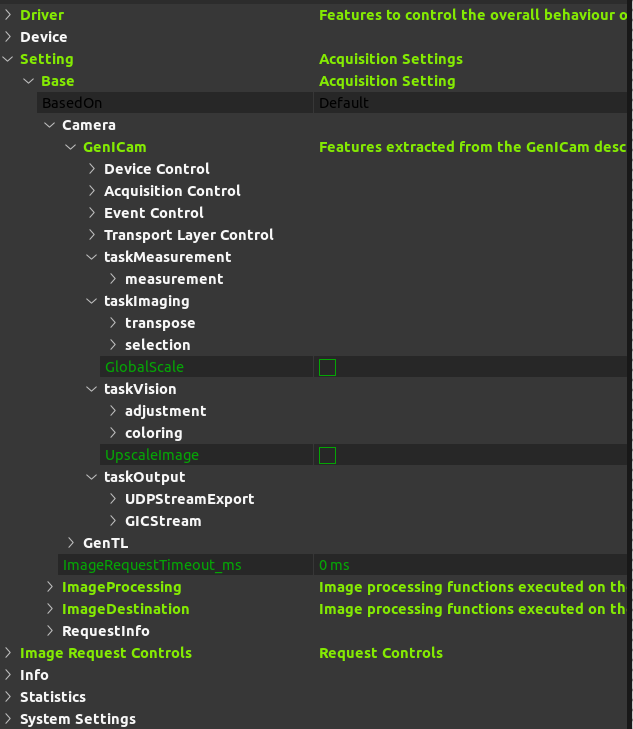
The parameters for the device are displayed in the property grid.
-
On the Settings menu, click Property Grid, and then click Show Property Grid. If the property grid is not yet displayed in a separate pane on the left-hand side:
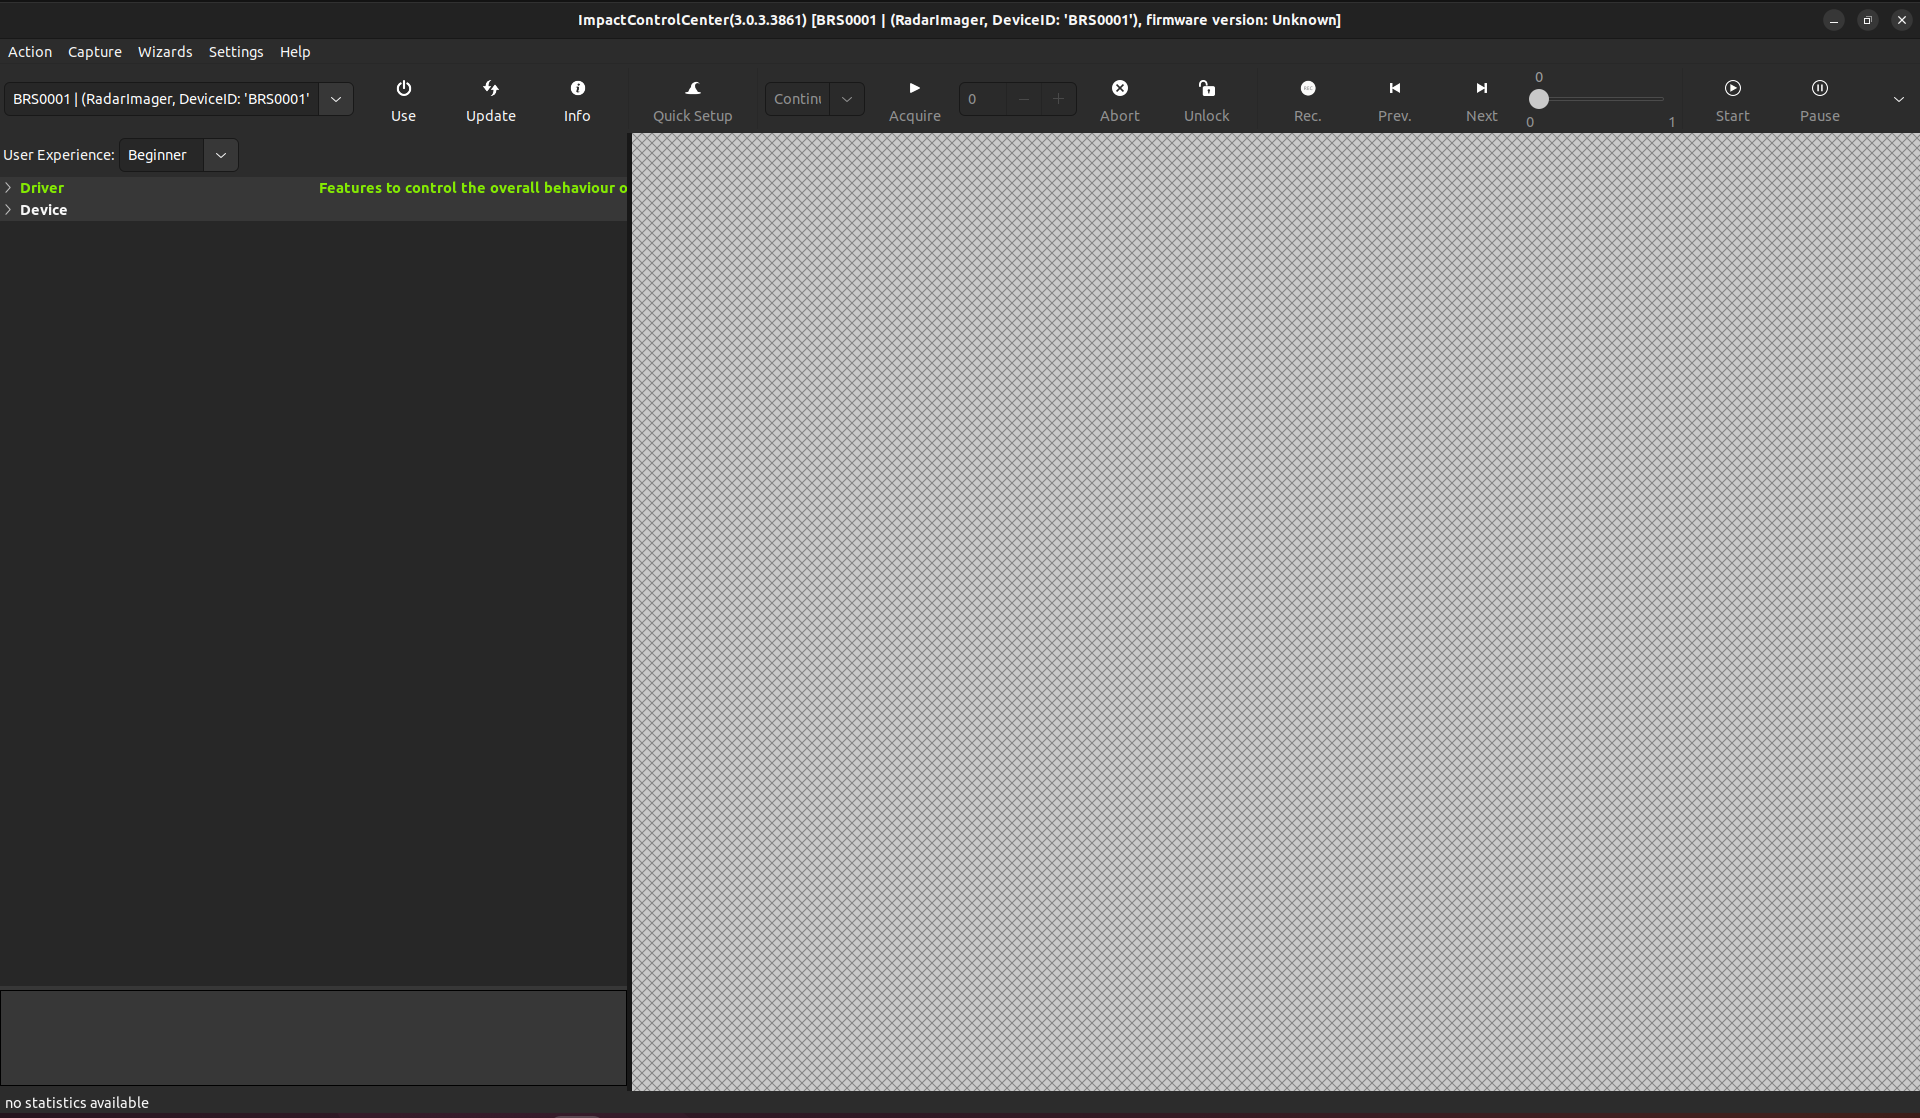
The property grid displays the basic properties of the selected device.
-
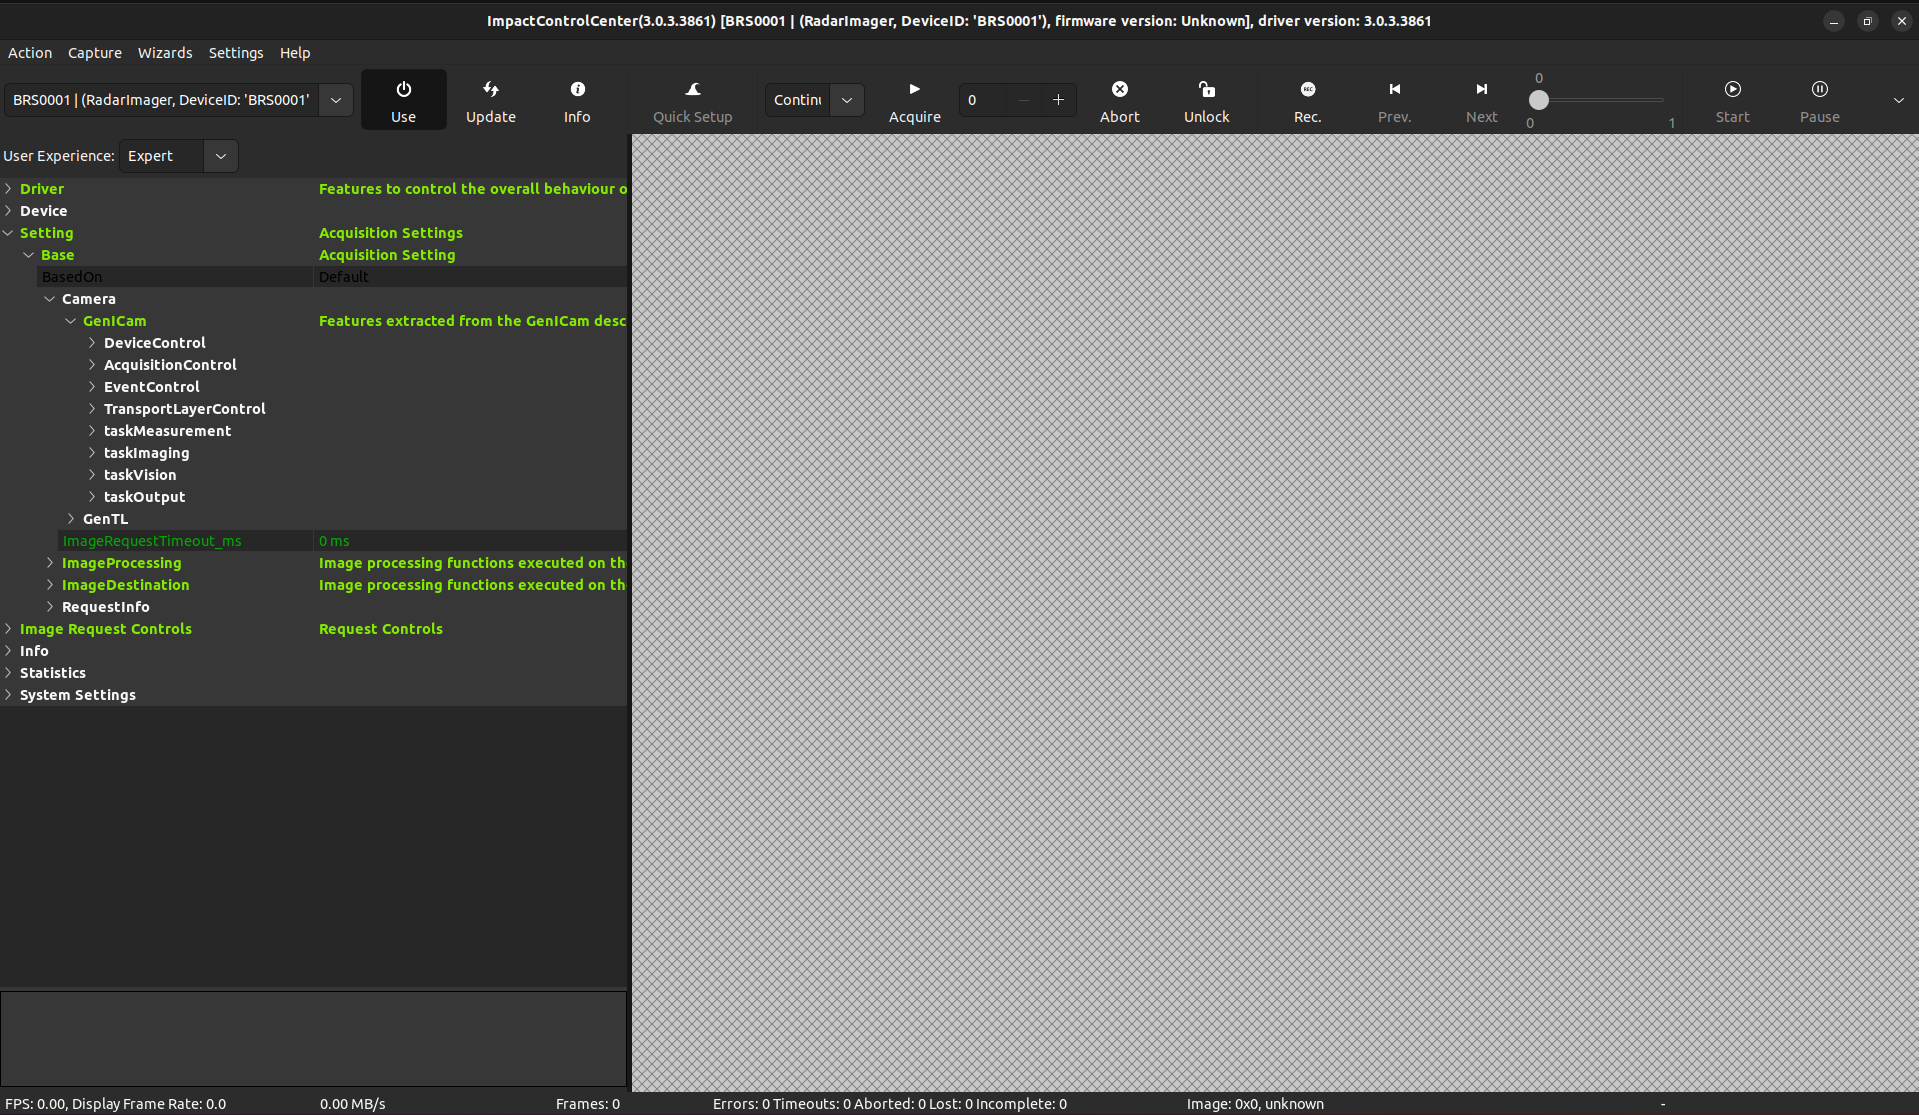
On the User Experience drop-down menu, select your level of experience (Expert is recommended).
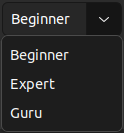
The property grid displays the properties according to your selected user experience:
-
Configure the device according to your needs, and click Acquire.
An image is acquired and displayed once the RadarImager was triggered on the external Trigger Port1:
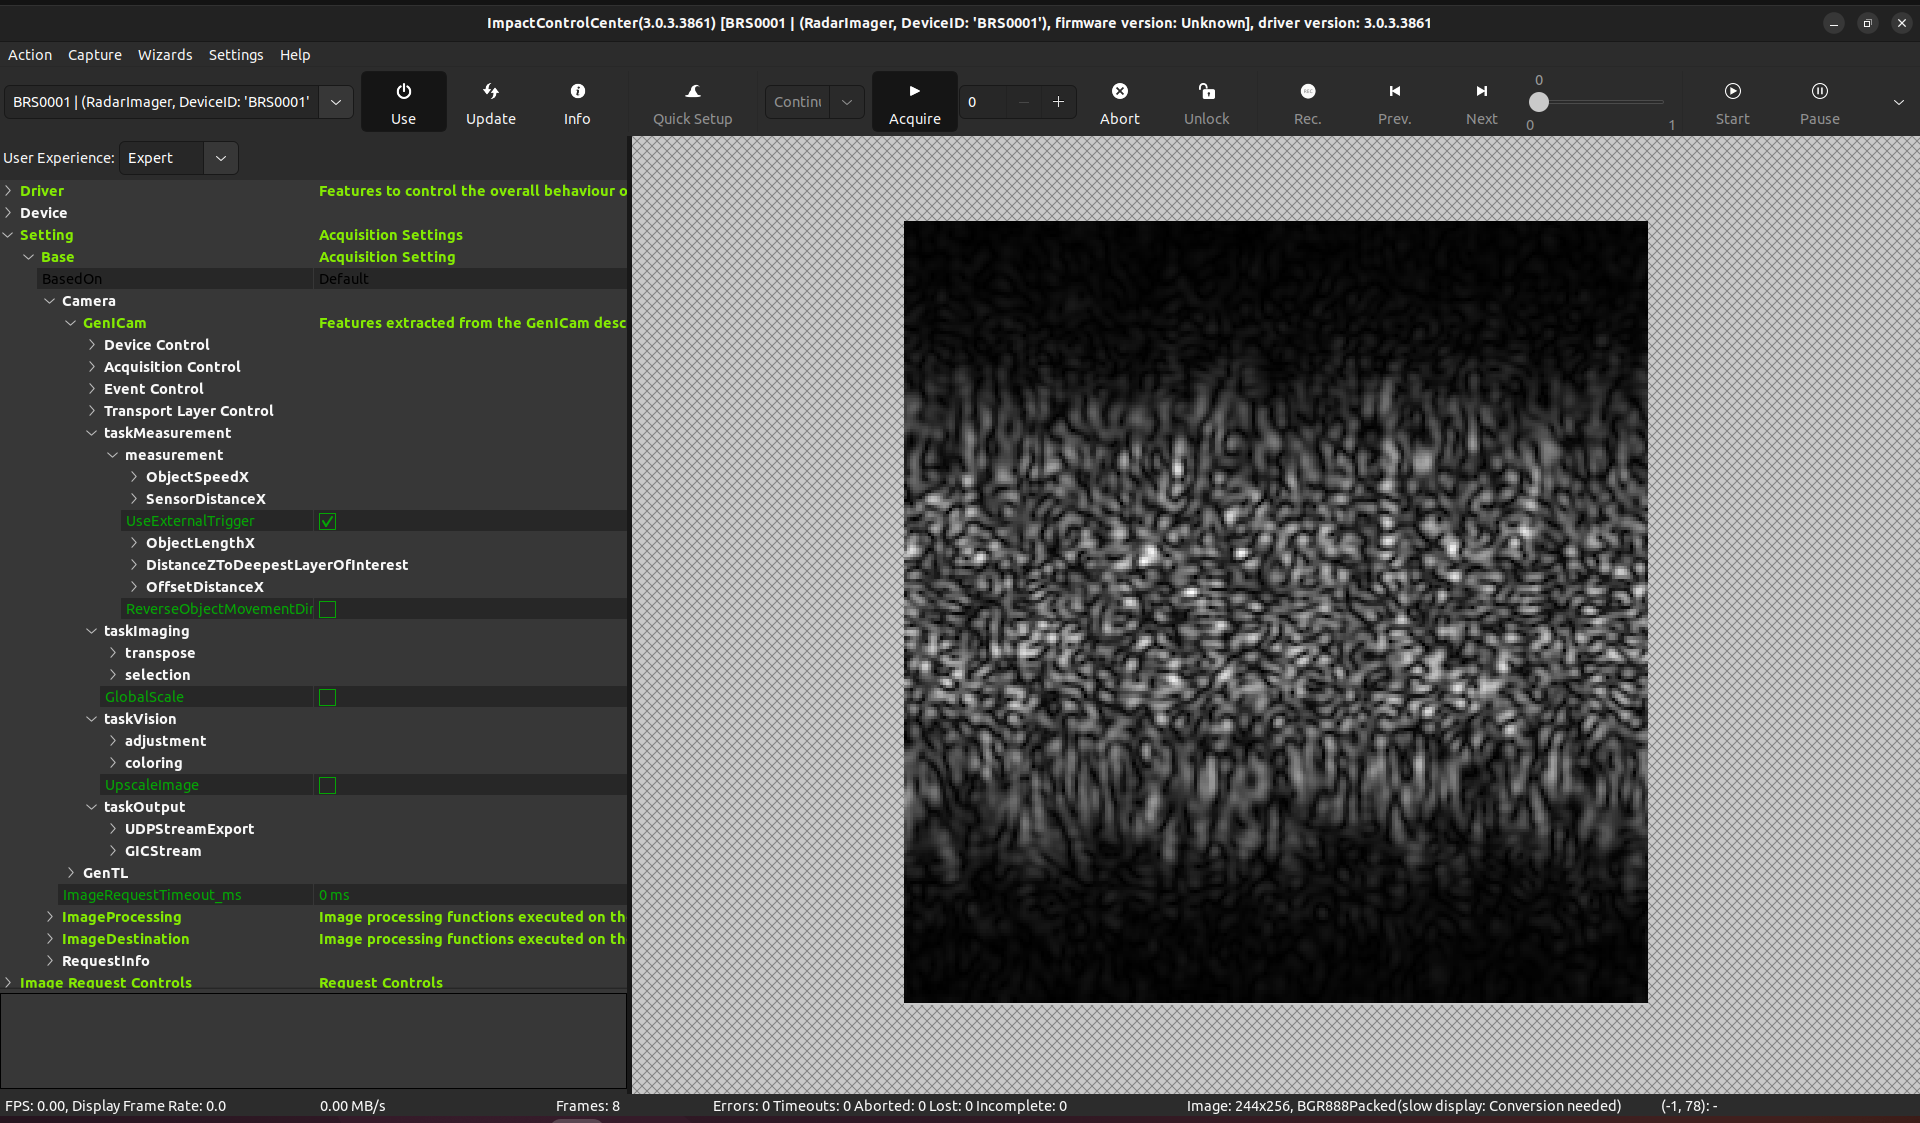
You have verified that image acquisition works. This first image will most likely not yet be useful for your application, as the RadarImager needs to be configured according to your specific environment and requirements.
Tip
Continue with Generate First Image for a guided setup of the most important measurement and imaging parameters.
Or refer to the Configuration documentation for detailed information.
To navigate through the layers, see Navigating through the 3D Image Layers.
Enable the Prefer Display Names option#
By default, the parameter names are displayed as follows:
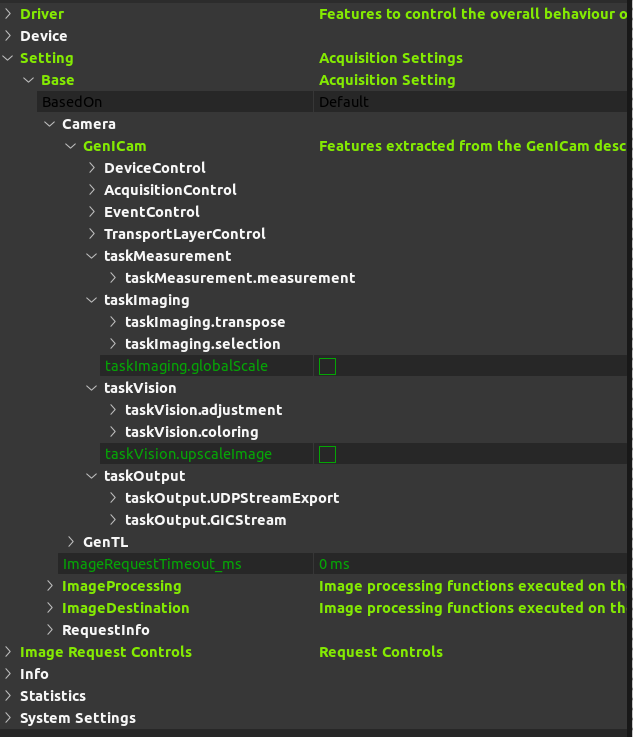
To improve the readability of the parameter names, select the prefer display names option:
On the Settings menu, click Options and select Prefer Display Names
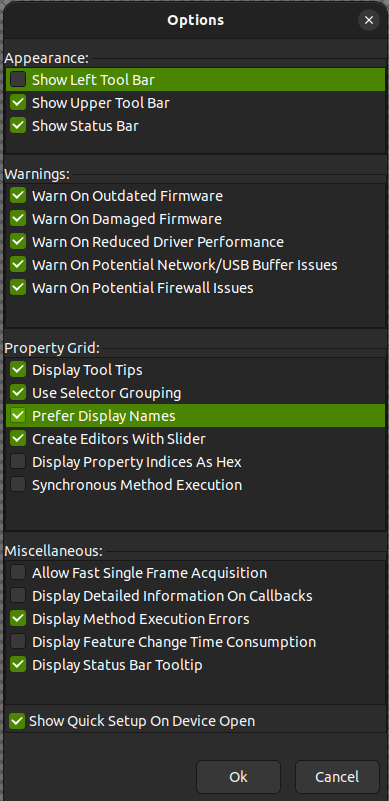
The display of the names changes to a more readable format: